
In this walkthrough, I will share the steps in the making of this photo. I will show the exact steps in Lightroom on how I took this ordinary image straight out of the camera into a nice & pleasing result you see below.
Before we start the editing process, the a quick word on how this was taken. As you can see there are two tracks so I was on board one shuttle and the other was approaching as both of them cross. I laid the camera on the window sill and adjusted the camera in Aperture Priority mode until the shutter speed was slowed down to 1/5th of a second. I put pressure on the camera, pushing it down on the sill so it wouldn’t move as I took the picture.
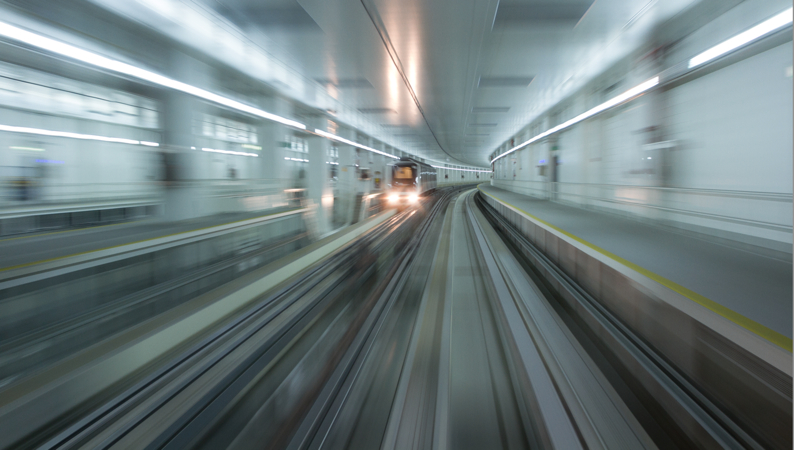
Dubai Shuttle – Before

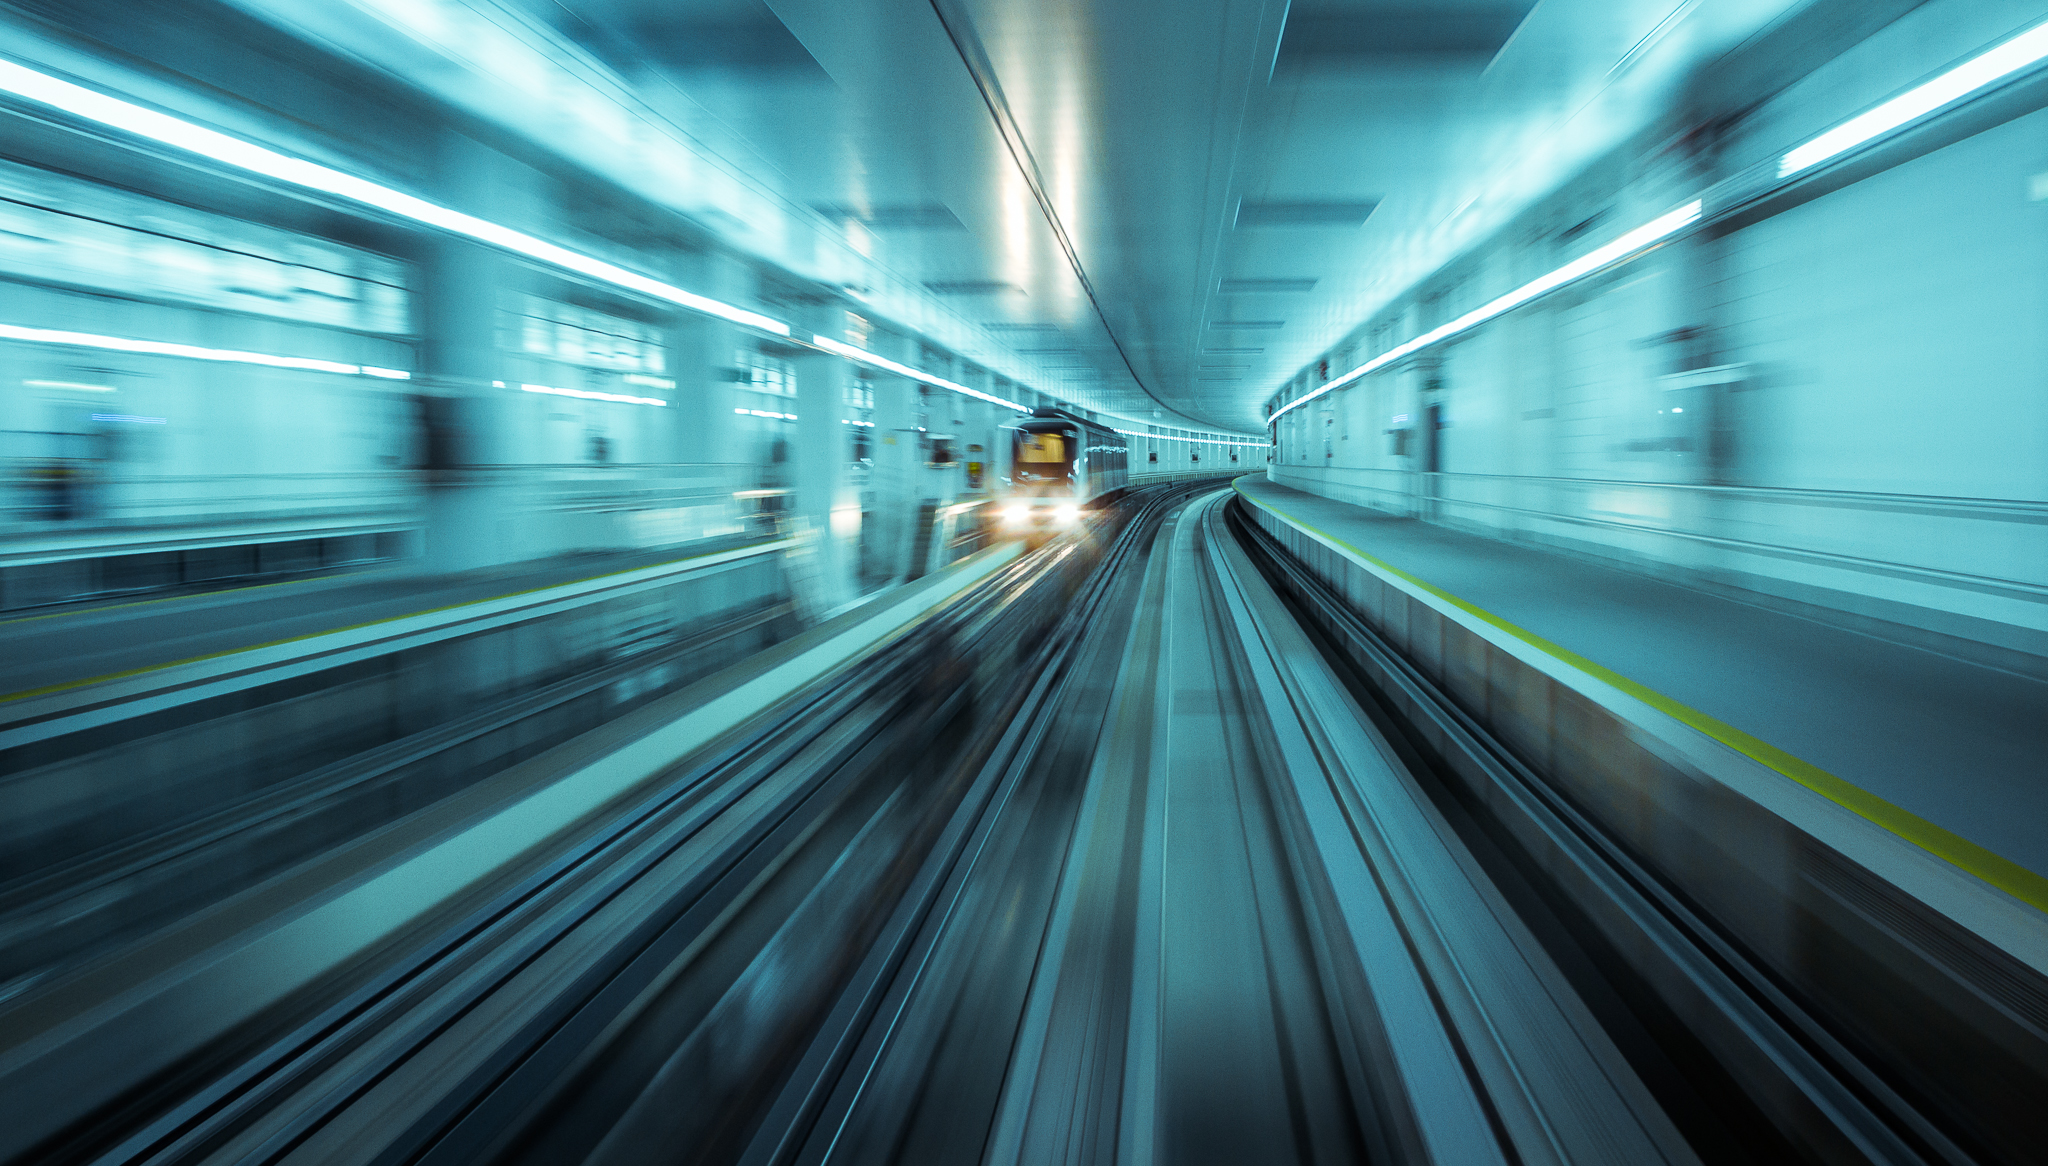
Dubari Shuttle – After
Lightroom Edits
The first edit was crop the image to a panoramic size. Then we move on to the Basic Panel settings.
Basic Panel Adjustments
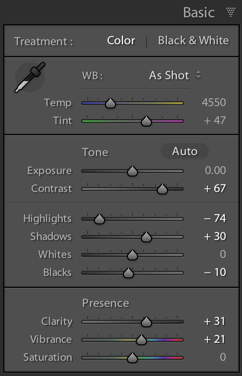
Basic Panel
I usually work from top down in adjusting the sliders, except for the Contrast which is added last.
- Bring down the Highlights
- Increase the Shadows
- Increase some Blacks
- Add some Clarity which adds micro contract
- Increase some colour Vibrance
- Lastly add lots of Contrast to accentuate the lines which lead you to the shuttle train.
So after a few of these changes it gives the following result.
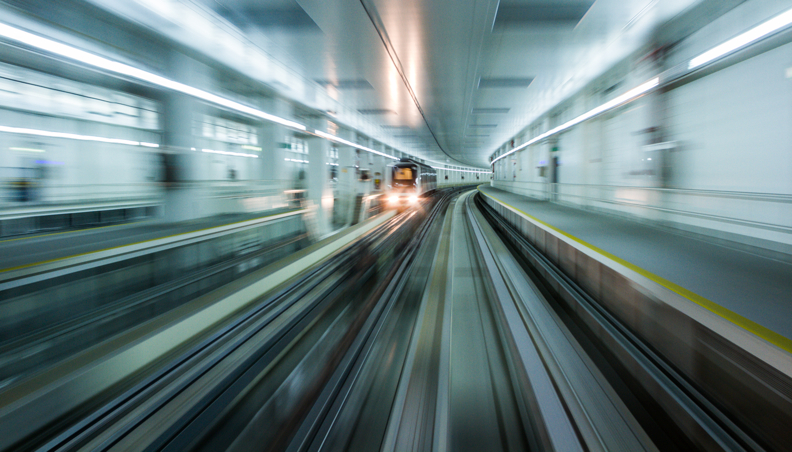
After Basic Panel
HSL Adjustments
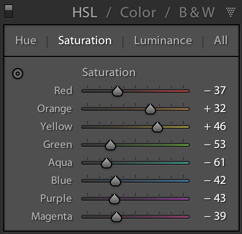
HSL Panel
I liked the yellow line along the platform so I wanted to emphasise it and reduce other colours. HSL panel allows me to adjust all the colours. So I start to reduce all the colours except for Yellow and Orange. These two colours are also present in the Shuttle’s lights. So I increase the Yellows and Oranges.
This almost makes the image into a Black and White image which only has two colours visible.
So it produces the following result so far.

After HSL Adjustments
Detail Adjustment
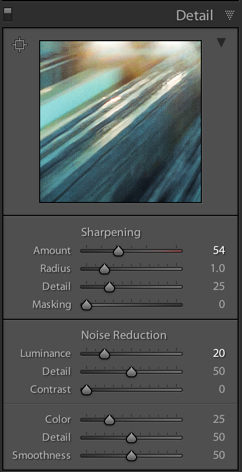
Detail Adjustments
Added some Sharpening to the image to increase the Crispiness of the lines. All other settings were pretty standard, they weren’t changed.
Effects Adjustment
Adding some Post Crop Vignetting to darken the edges and then Feather the effect.
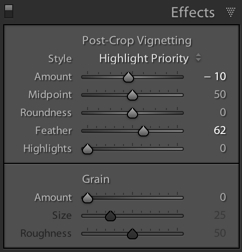
Effects Adjustments
Split Toning Adjustments
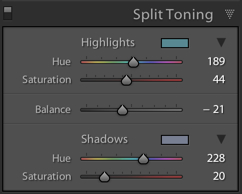
Split Toning Adjustment
At this point I liked the image but I felt it was missing mood and atmosphere. Then I remembered that the shuttle was very cold as the Air Conditioning was blasting at full speed. So I used some cool colours to add some feeling to the image.
The Final Result
After all these adjustments in Lightroom the final resulting image is ready.
Click on the image below to preview Large size.

Dubai Shuttle – International Airport
Exif Data
[exif id=”1734″]


