Converting your old negative to digital photo is not a hard process but it does take some time, so you need to invest it setting up and photographing your negatives. You can buy off the shelf converters that convert your photos to digital images but they have their limitations; noisy scan, JPEG only (no RAW file), trivial interface and buttons. However, they would do an okay job.
Trust me I bought one to try it out and soon after I was back to the drawing board to figure out how to do it myself. Hence I put this detail together of how you can do this yourself.
You will need a few things:
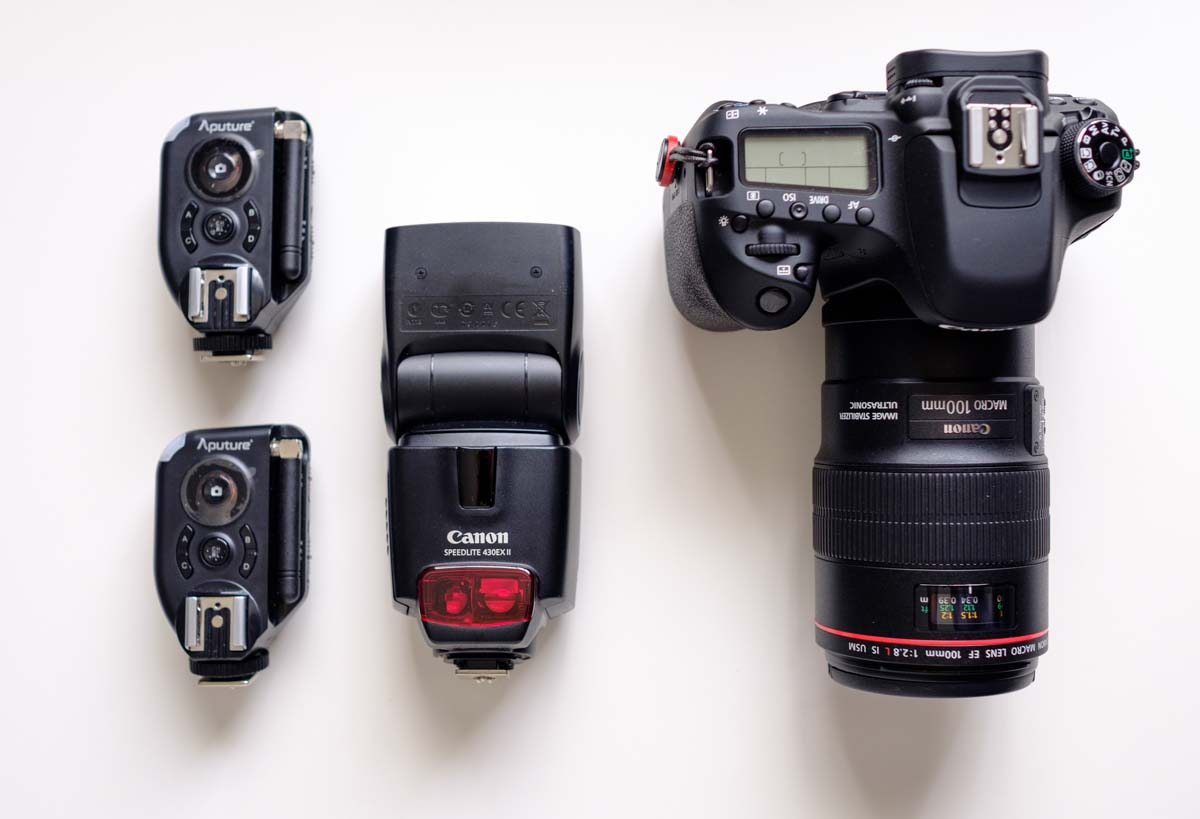
- A Macro Lens – to get up close to the negative and focus while maximising the usage of the megapixels of your camera sensor. I used a Canon 100mm Macro Lens.
- A Tripod – to have your camera setup and ready to go. All you’d move is the film.
- Flash – with a remote trigger or hot-shoe cable so it can be easily and constantly triggered as you won’t be mounting it on top of the camera.
- A white plastic shopping bag – thick and without wrinkles.
- A shoebox – preferably with white interior.
- Tools & Accessories – Some sticky tape, a stanley knife (box cutter) and a pencil.
- Lightroom CC Classic – to tether your camera and import scanned images straight into Lightroom. This is the easiest way as you can monitor the images as they come in and adjust your setup as needed.
- USB Cable – To attach your camera to your computer.
- Lightroom Preset – Download the preset to covert Negative to Positive, or create your own!!
Preparing the Box
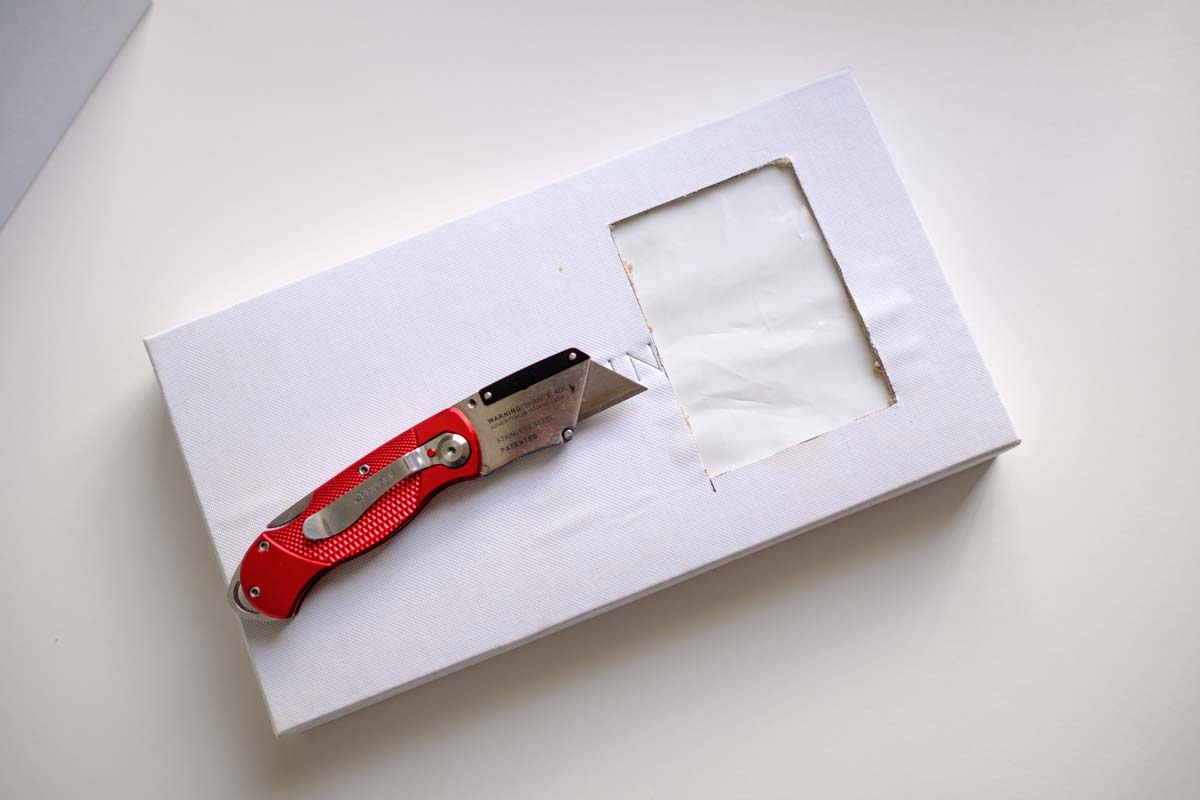
Take the Shoe box lid and cut a rectangle out of it so that you can create a little window big enough to place the largest size negative you have.
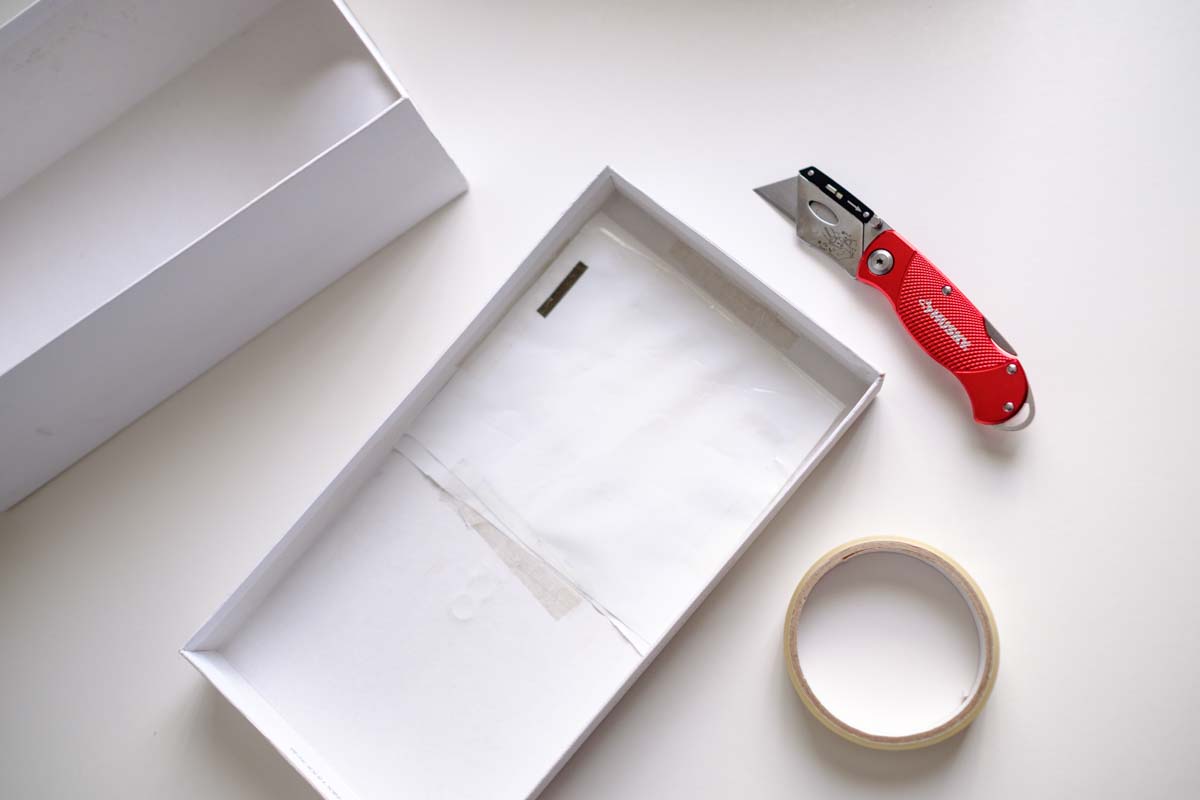
Measure and cut out the plastic bag so you can cover the rectangle window you cut out completely with the white plastic bag. The size you want to cut out is up to you, as to how big would be the biggest negative you’d want to scan.
I have standard 35mm film and medium format film that my dad used to shot back in the day.
Use some sticky tape to glue the bag on the inside of the lid. Secure it nice and tight so the plastic bag is stretched and as flat as possible with the cut-out window.
If the Shoe box is not white inside then line it white sheet of paper along the walls as you want white light being reflected out of the window of the lid.
Fitting the Flash in the Box
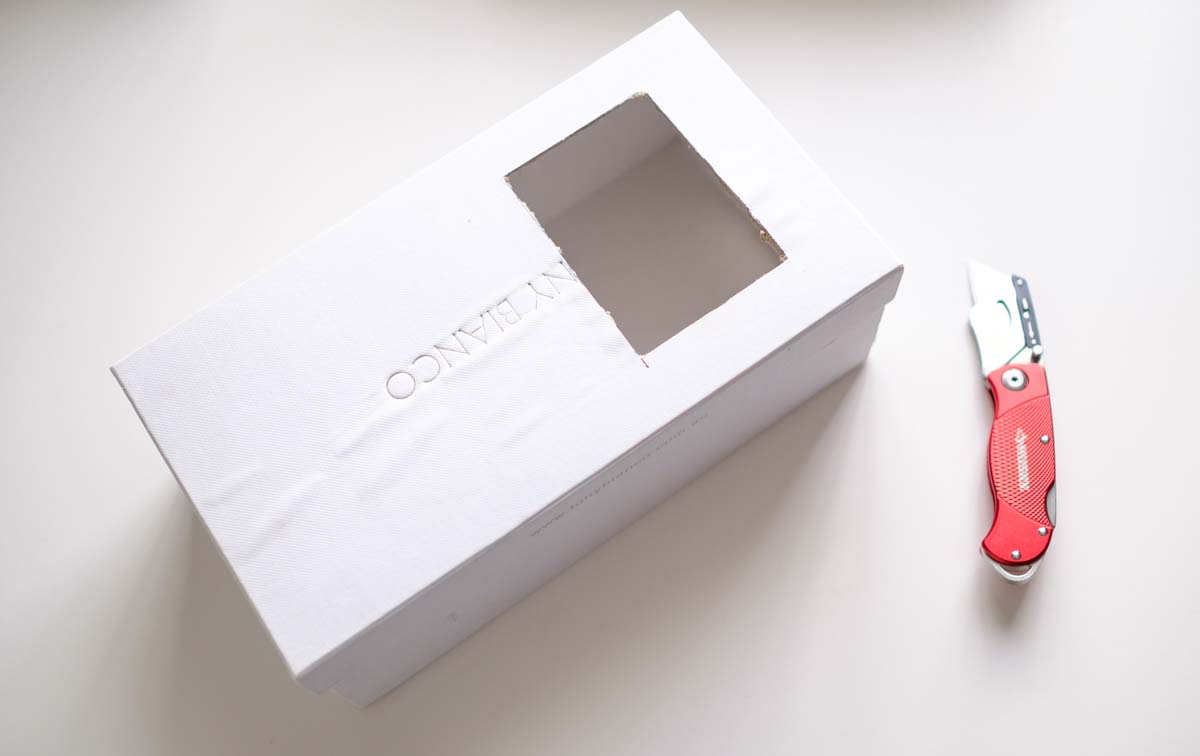
With a pencil draw the outline of the flash head on one of the short sides of the box, as we will cut out another section of the box so that the flash fits inside the box. Using a stanley knife cut the window as drawn to insert the flash.
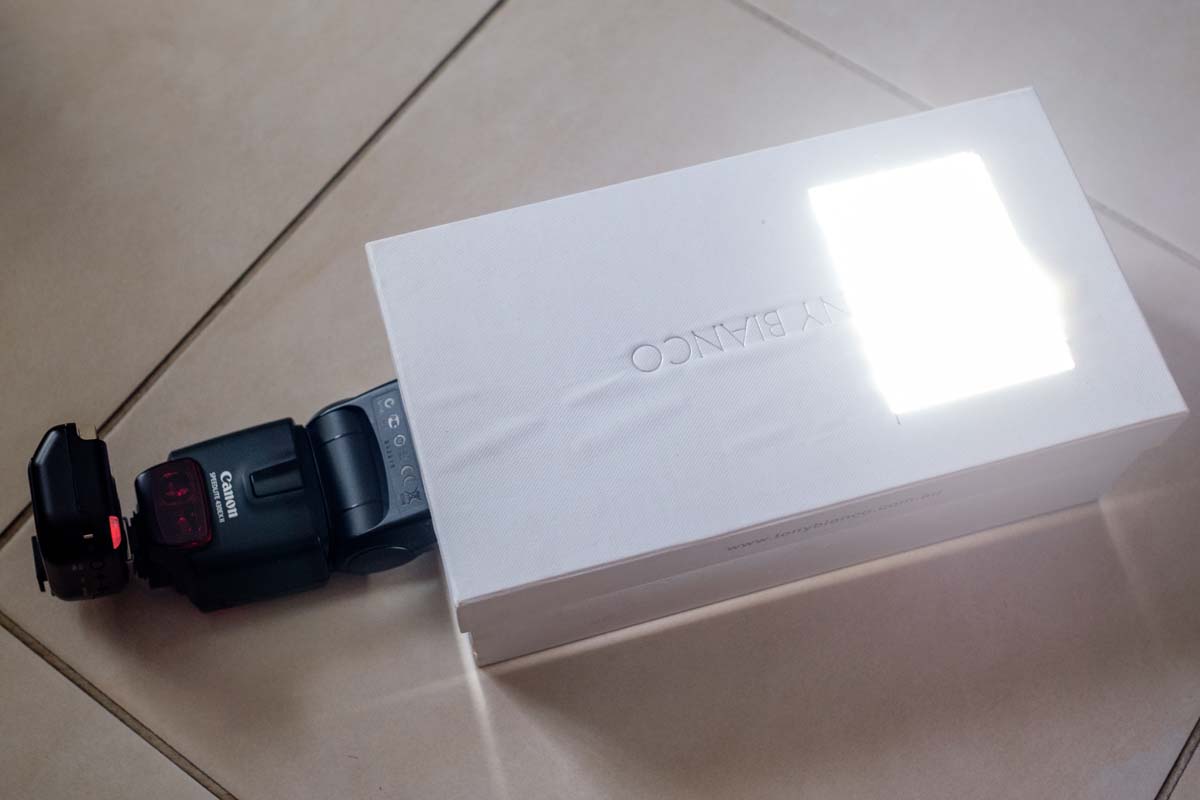
Insert the flash through the cut out to ensure it fits, otherwise, adjust the cut out as needed. Once done put the cover on the box with the plastic window on the opposite side of the flash.
Note: You want to ensure the flash fits as snug as possible in the box. If its too lose you will get some light spilling out of the box.
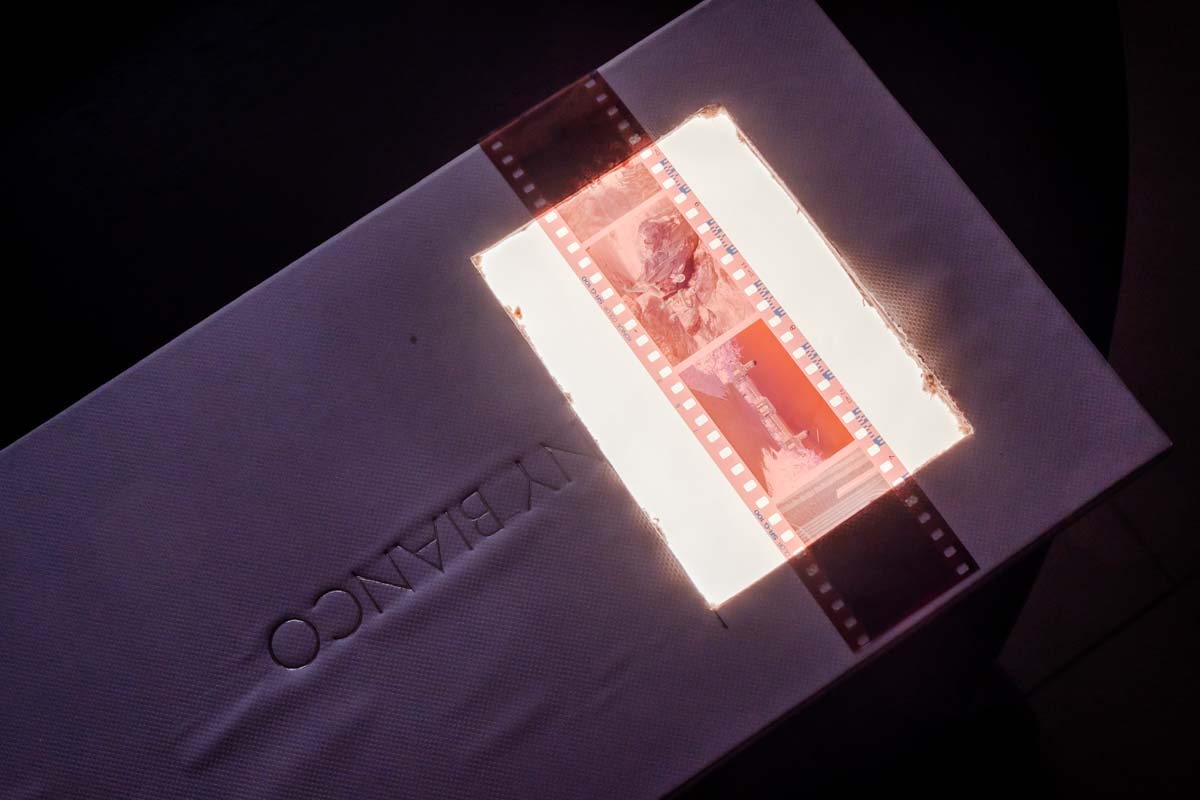
With the flash now installed we are ready to proceed to the next step. Below is a quick snap to show you the ready setup, flash fires and the white plastic provides a nice clean white light to light up our negatives.
Camera & Tripod Setup
Place the box on the table or floor and then place the tripod above it surrounding the box by the tripod legs.
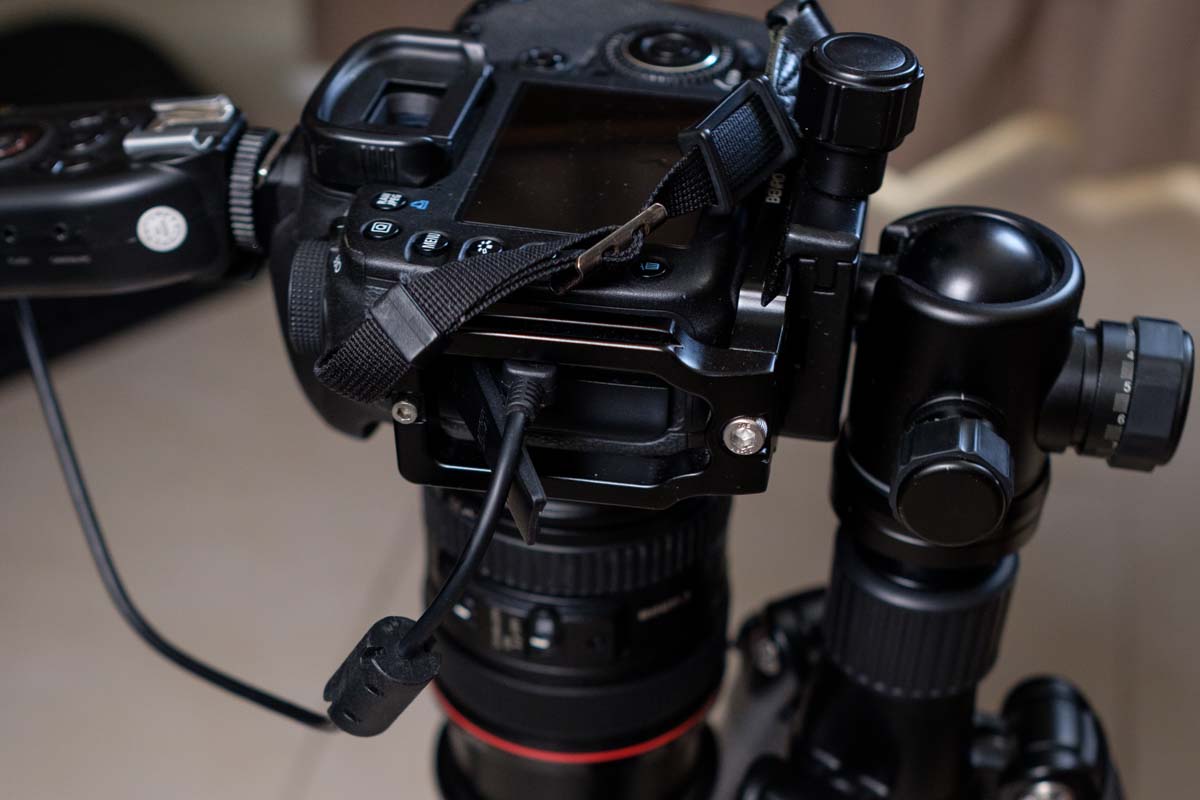
Mount your camera with the Macro lens and adjust the ball head so the camera is facing straight down towards the box. Ensure its leveled and perpendicular to the box.
Next, you want to ensure that the camera is able to focus and the frame is big enough to capture the film you want to photograph. So place the film on the box and ensure your lens is able to focus. If not, then adjust the height of it so it can focus easily and lock the focus.
The Canon EF 100mm USM Macro lens has a closest focusing distance of 30 cm and so with this lens I can pretty much fill the frame to maximise the resolution of the image.
Connect the remote flash trigger in the hot shoe of the camera or use the hot shoe cable. If your camera’s pop-up flash can operate as a remote trigger, use it (refer to the camera manual).
In my case I have two Apurture remote triggers; one set to receive that is attached to the flash and; the other set to transmit which is mounted on the camera.
Put the flash in remote trigger mode (refer to flash manual). The flash needs to operate in a consistent mode, so best to set it up in Manual operation mode and dial in the settings for the flash.
In my case, I started with 1/16th of the power of the flash. Your shooting setup is now complete, next we need to focus on the Lightroom side.
Create a Lightroom Import Preset
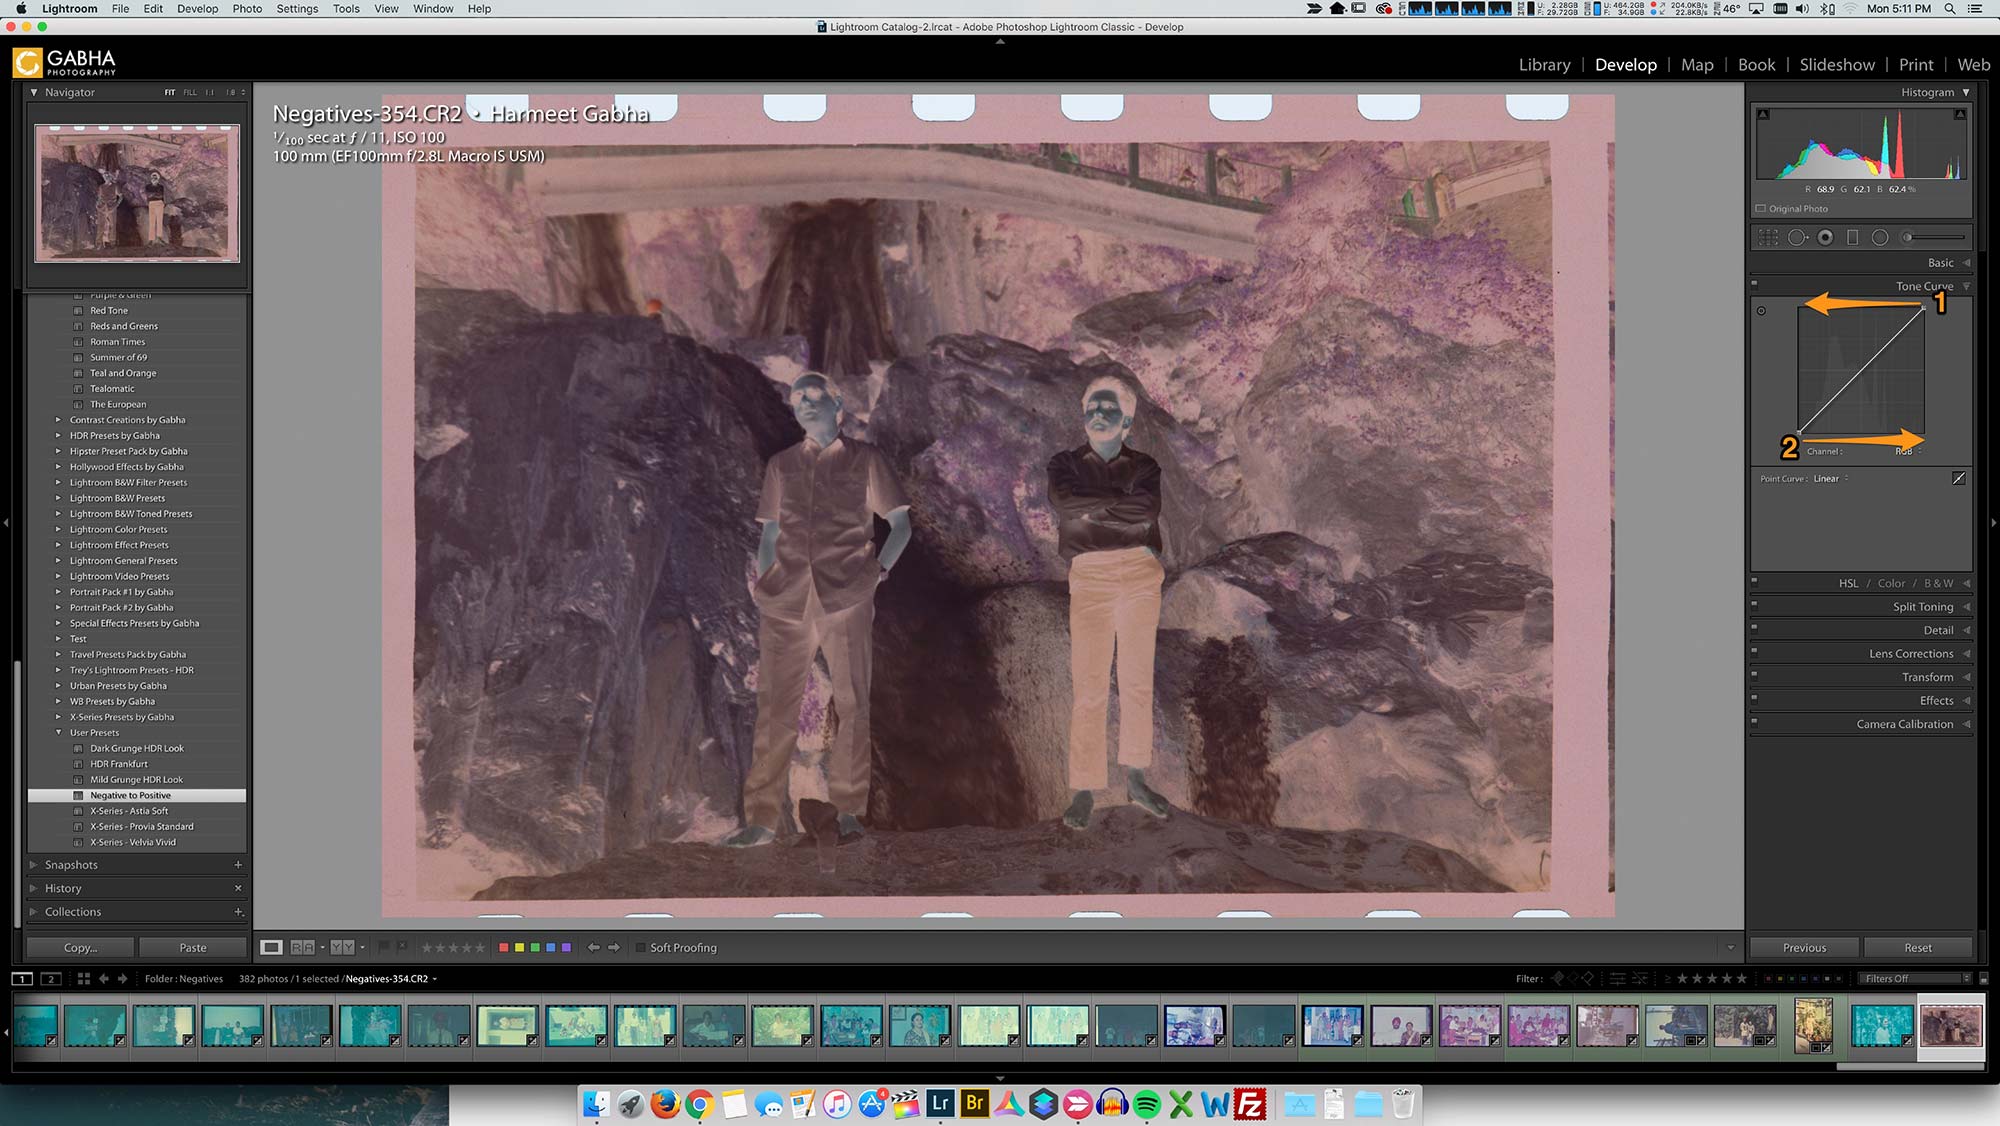
Creating the preset is relatively easy, all you need to do is “flip” the Tone Curve of the image and the image is converted to a positive.
Move the Top of the curve (at 1) to the opposite corner as shown in the image below. Move the Bottom of the curve (at 2) to the opposite corner.
The image above is the negative itself but when you flip the curve, now you should see the image starting to look normal.
It should look like a positive like the one below.
Create a Preset by clicking on the (+) icon on the Presets panel and save it with the desired name. I called mine “Negative to Positive“. Now you can use this while importing the images directly from the camera when you shoot tethered.
NOTE: Some of the develop sliders will behave differently once you apply this preset ie. Highlight, Shadow, Whites and Blacks. You will need to move them opposite direction to achieve the desired result. You can download the preset that I created here, if you like. More instructions on how to create your own preset can be found here.
Tether your Camera to Lightroom CC
Plug in the USB cable or another specific tethering cable into your camera and plug the other end into your computer. Turn on your camera so your Computer can detect it.
If you are unsure how to tether, refer to your camera’s User Manual as it should generally explain how to setup your camera in this mode.
If you don’t insert a memory card in your camera, you may need to turn ON a setting that is called “Shoot without Card”, a setting I talked about turning off when you buy a new camera. But in this case, you want to turn it on or keep it on.
Note: This step is not mandatory you can skip this part if you are unsure on how to tether your camera. You can just shoot all the negatives onto your camera’s memory card and download them afterward.
Now we can start Lightroom, so we can setup our camera in Lightroom and start capturing the images.
- Fire up Lightroom and from the File menu Start Tethered Capture.
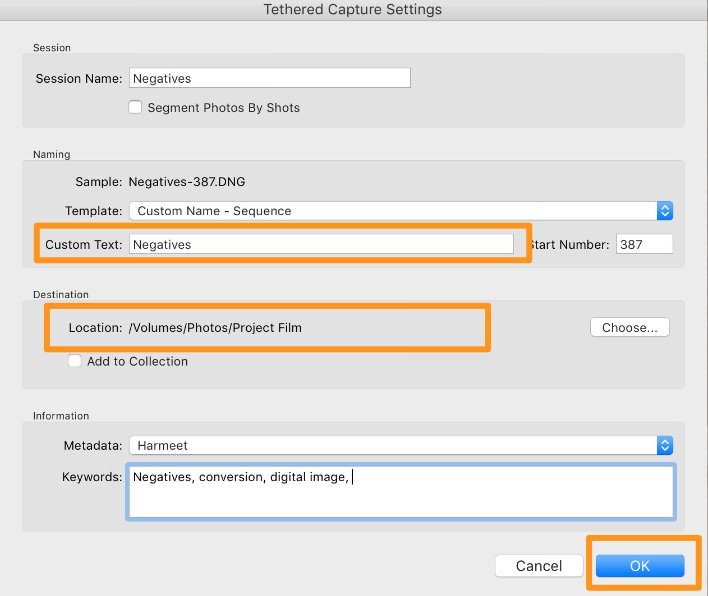
- Specify a Session Name, Naming convention for the files and the Location of where you want to save them.
- Add any other Metadata and Keywords you want to attach by default to your images and click OK.
A new panel will appear which will show you your Camera name and its settings. This means your camera is now tethered and ready to shoot.
Choose from the Develop Settings your own Preset you created earlier or if you downloaded mine, select “Negative to Positive“. You are now ready to take your first test shot.
Shooting Settings
Getting the flash settings requires some trial and error. In my case, I mentioned I started in manual mode, with 1/16th of the power of the flash.
My camera was set to 1/100th of a second at F/11 with ISO 100.
As you are using a Macro lens you want to ensure that you capture the entire depth of the negative in focus and with Macro lenses the depth of field can be very shallow. By shooting at F/11 I am making sure that the camera is able to focus on entire portion of the negative.
Keep your camera locked at these settings and adjust the flash power as required. It does take some trial and error so be patient and only make small changes.
Note: Remember you are lighting up a negative which becomes a positive when imported into Lightroom, so if your flash is too bright the result would be very DARK image.
Start Converting Negatives
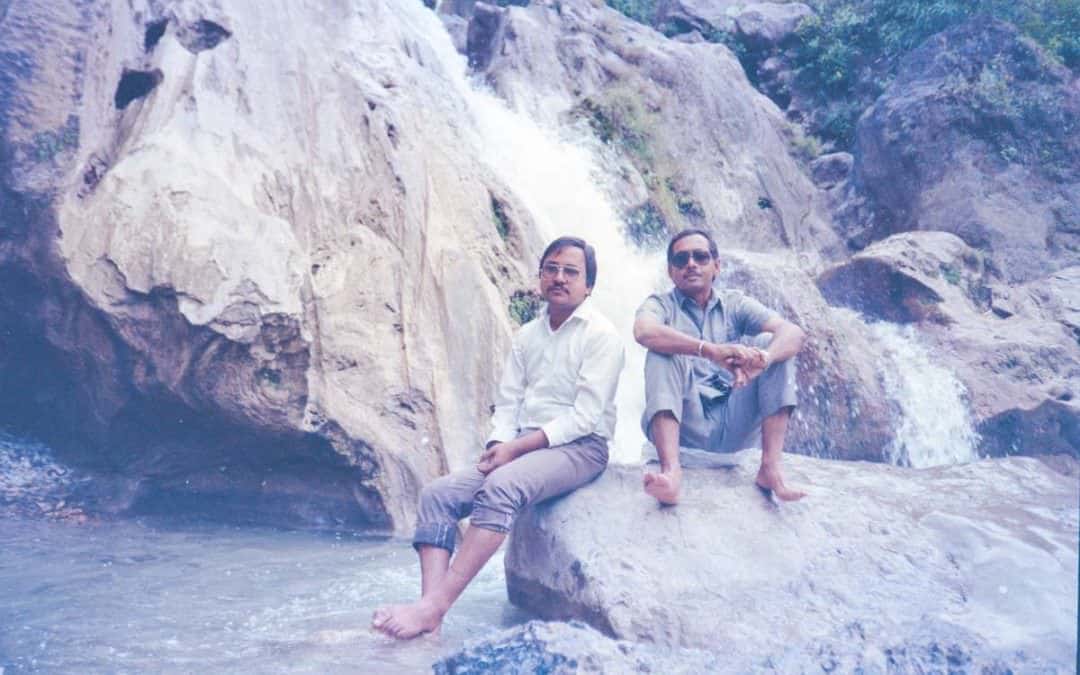
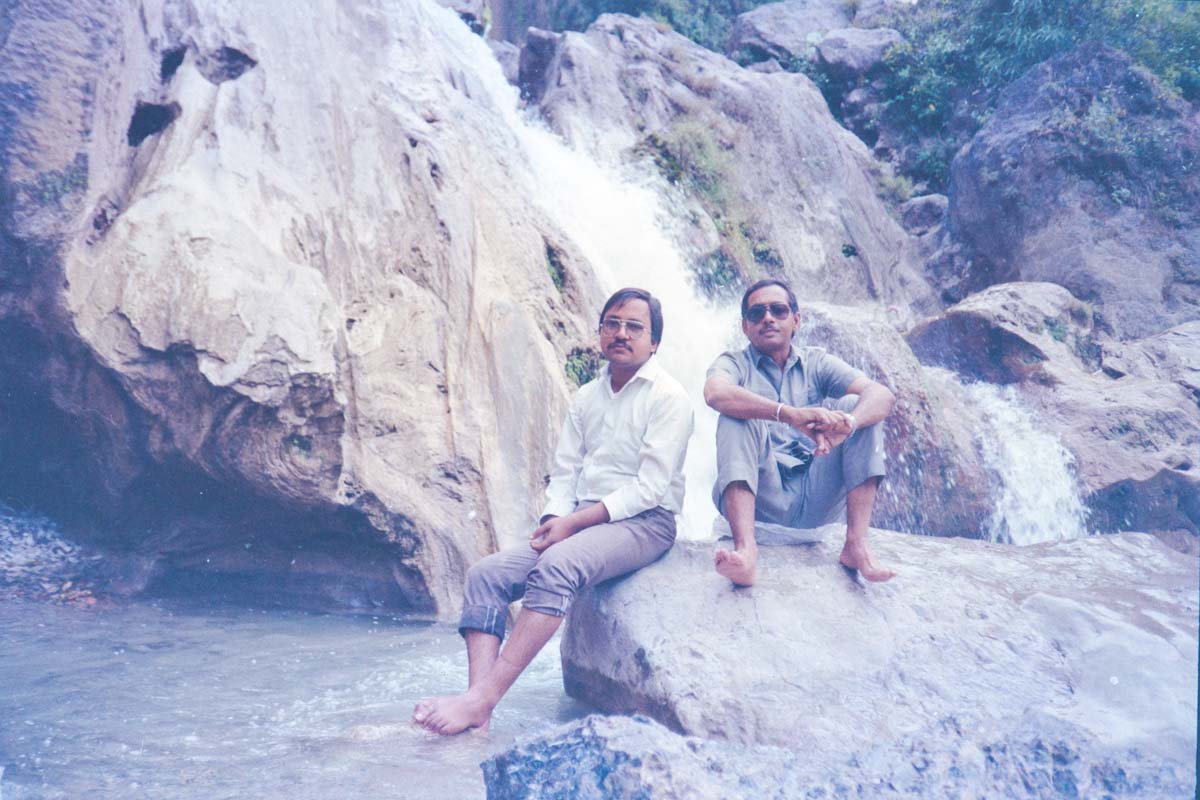
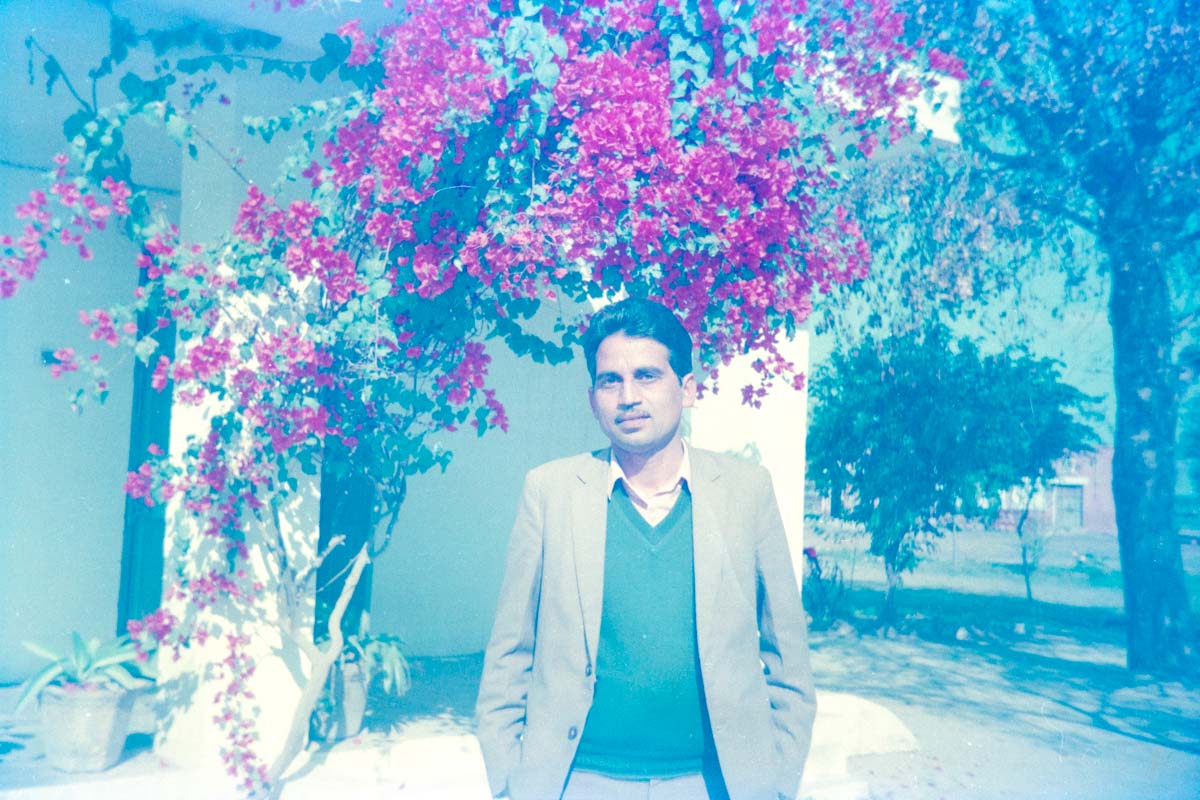
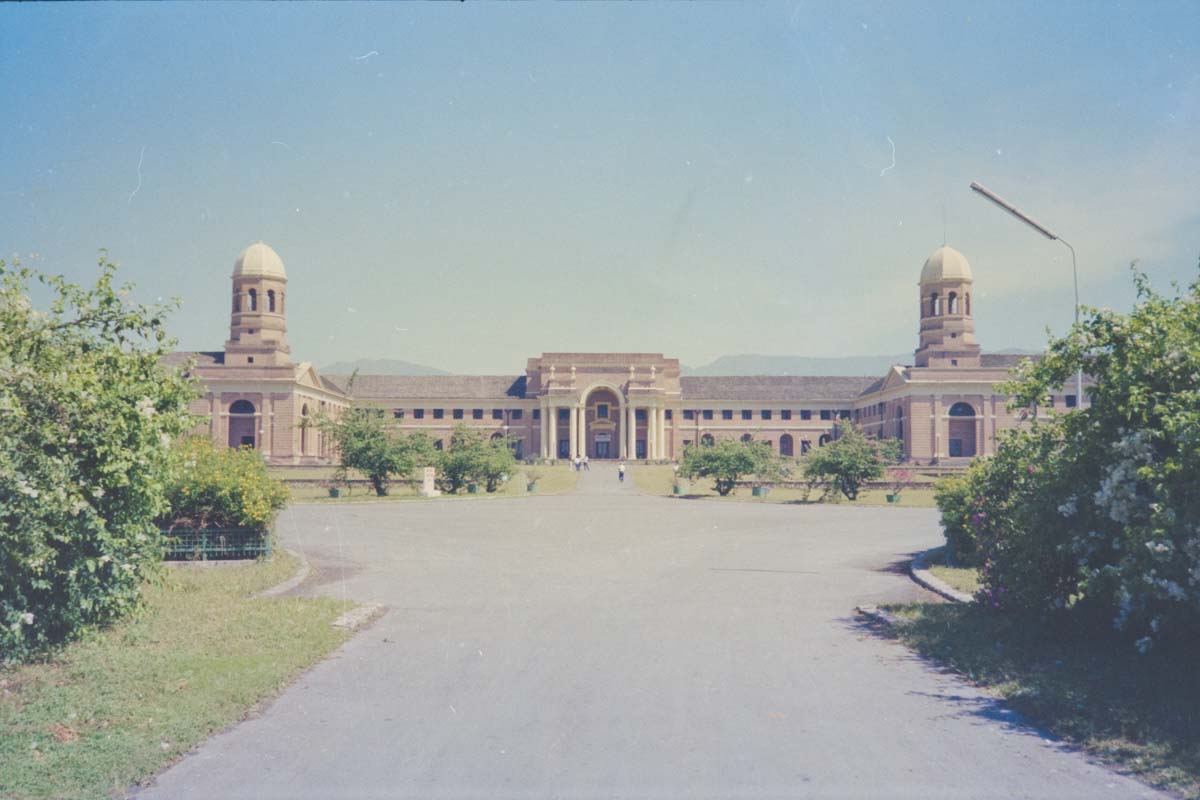
Once you are setup, just fire away and convert as many negatives as you can into digital images. The process does take some time but the outcome is very rewarding as you can not only preserve those negatives as digital positive images but also print them at your local print lab or at home. Here are some of the images I managed to scan via this method.
Conclusion
In conclusion, I hope you found my process useful and it inspires you to do the same and convert your old memories into digital images that you can easily share with your siblings or family. All I’d ask is that if you find this process useful, you share this post with others and let me know your thoughts in the comments below.


