
What makes a photo more engaging? Interesting subject? Great Composition?
Yes, although these factors play an important role in creating a great image one key factor is directing your viewers eye to parts of the image and having them look around inside the image. Getting their eye to wonder.
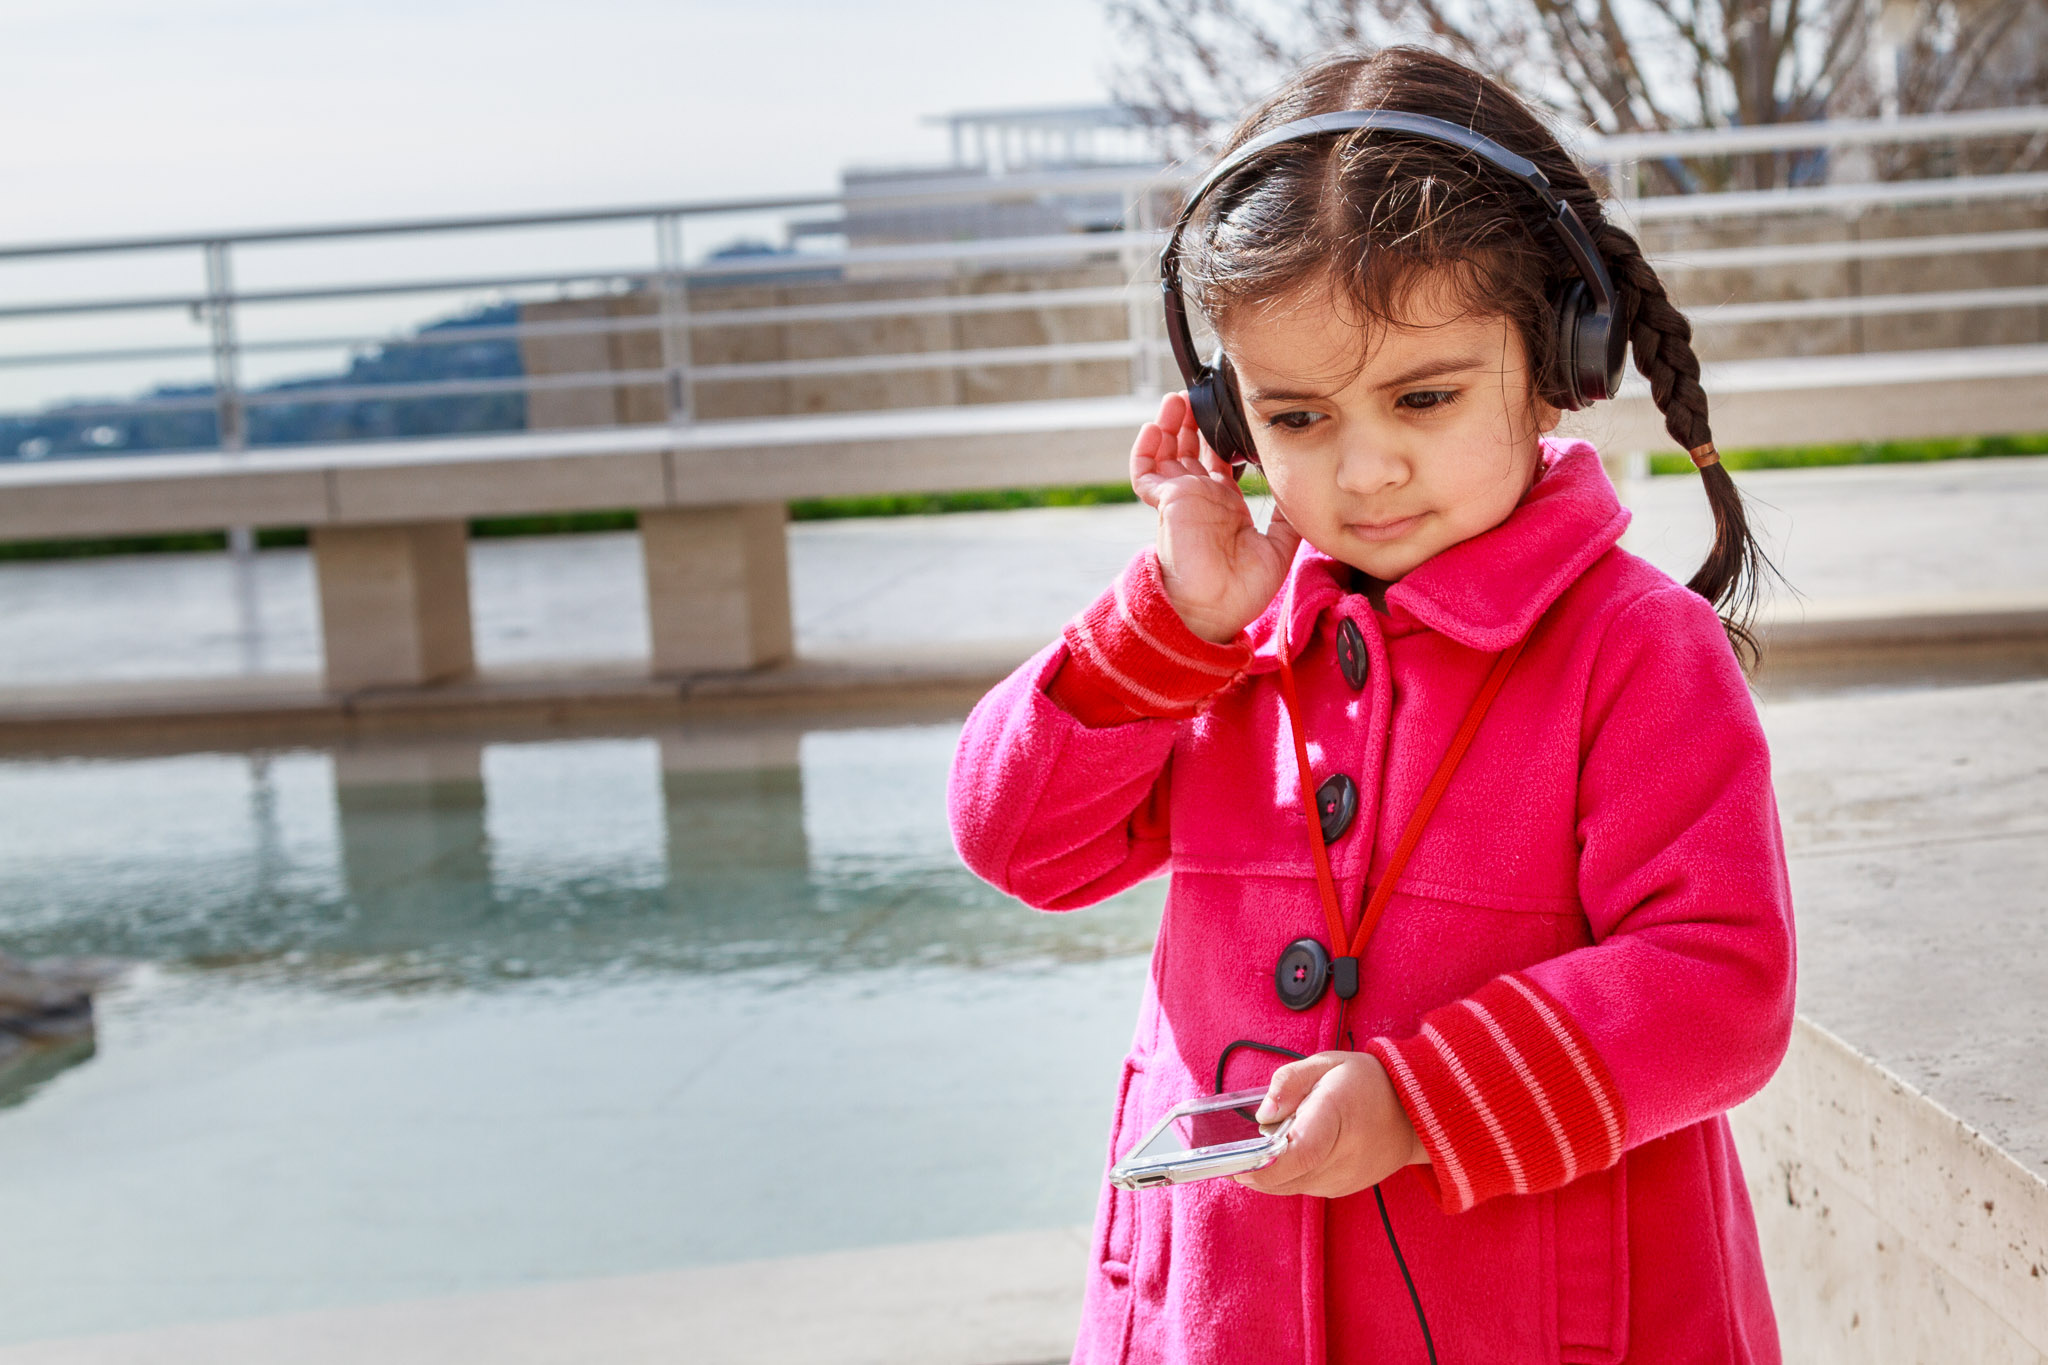
Take a look at the following image, what do you see first?

Original Image – As Shot
You may not realise this but your eye went to the brightest part of the image first and then wondered around the image. This is a known fact that our eyes always go to the brightest part of a photo first. So we can utilise this subliminally and ensure that the area where we want to have the viewer see first are the brightest parts of that image.
Now that we know how we can direct the viewers eye it makes it pretty straight forward to accomplish this using Lightroom. In the latest version of Lightroom (v5.x) there are 3 possible ways we can direct the viewers.
Post-Crop Vignetting
Traditionally this has been the easiest way to direct the viewers eye. I did a post about this a while back title ‘Add a Vignette‘. Vignetting is a effect that can be added using the Effects panel in the Develop module of Lightroom to darken the corners of the image to create a point of interest towards the centre.
But the challenge with this traditional way is that this only directs your viewer to the centre of the image. And as we know that putting the subject in the centre of the image doesn’t always work. In fact in textbook photography, this is not really allowed and is punishable by law; to put your subject in the dead centre of the image. Okay, I’m kidding about the ‘punishable by law’ part.

This works well but as the subject is close to the edge it starts to darken the girl in the picture but still is a vast improvement from the original image.
Adjustment Brush
Adjustment brush has been in Lightroom since I started using it back in version 3 days. This can be used again to direct the viewer where we want from the Develop module in Lightroom.
What you want to do is using the Basic Panel reduce the image exposure (-1 exposure) which will darken the overall image, now using the Adjustment brush and setting its exposure setting to opposite value (+1 exposure) you can brush over the subject lightly. This brightens the desired area where we brush. Best practice would be to use a big enough brush size with +100 Feather (which will make it very soft) so that with one or two strokes you can paint over the desired area.
To see which area you’ve brushed over, press the ‘O‘ key on the keyboard which will show you the Overlay of the painted brush stroke. Press the ‘O‘ key again to turn off the overlay.
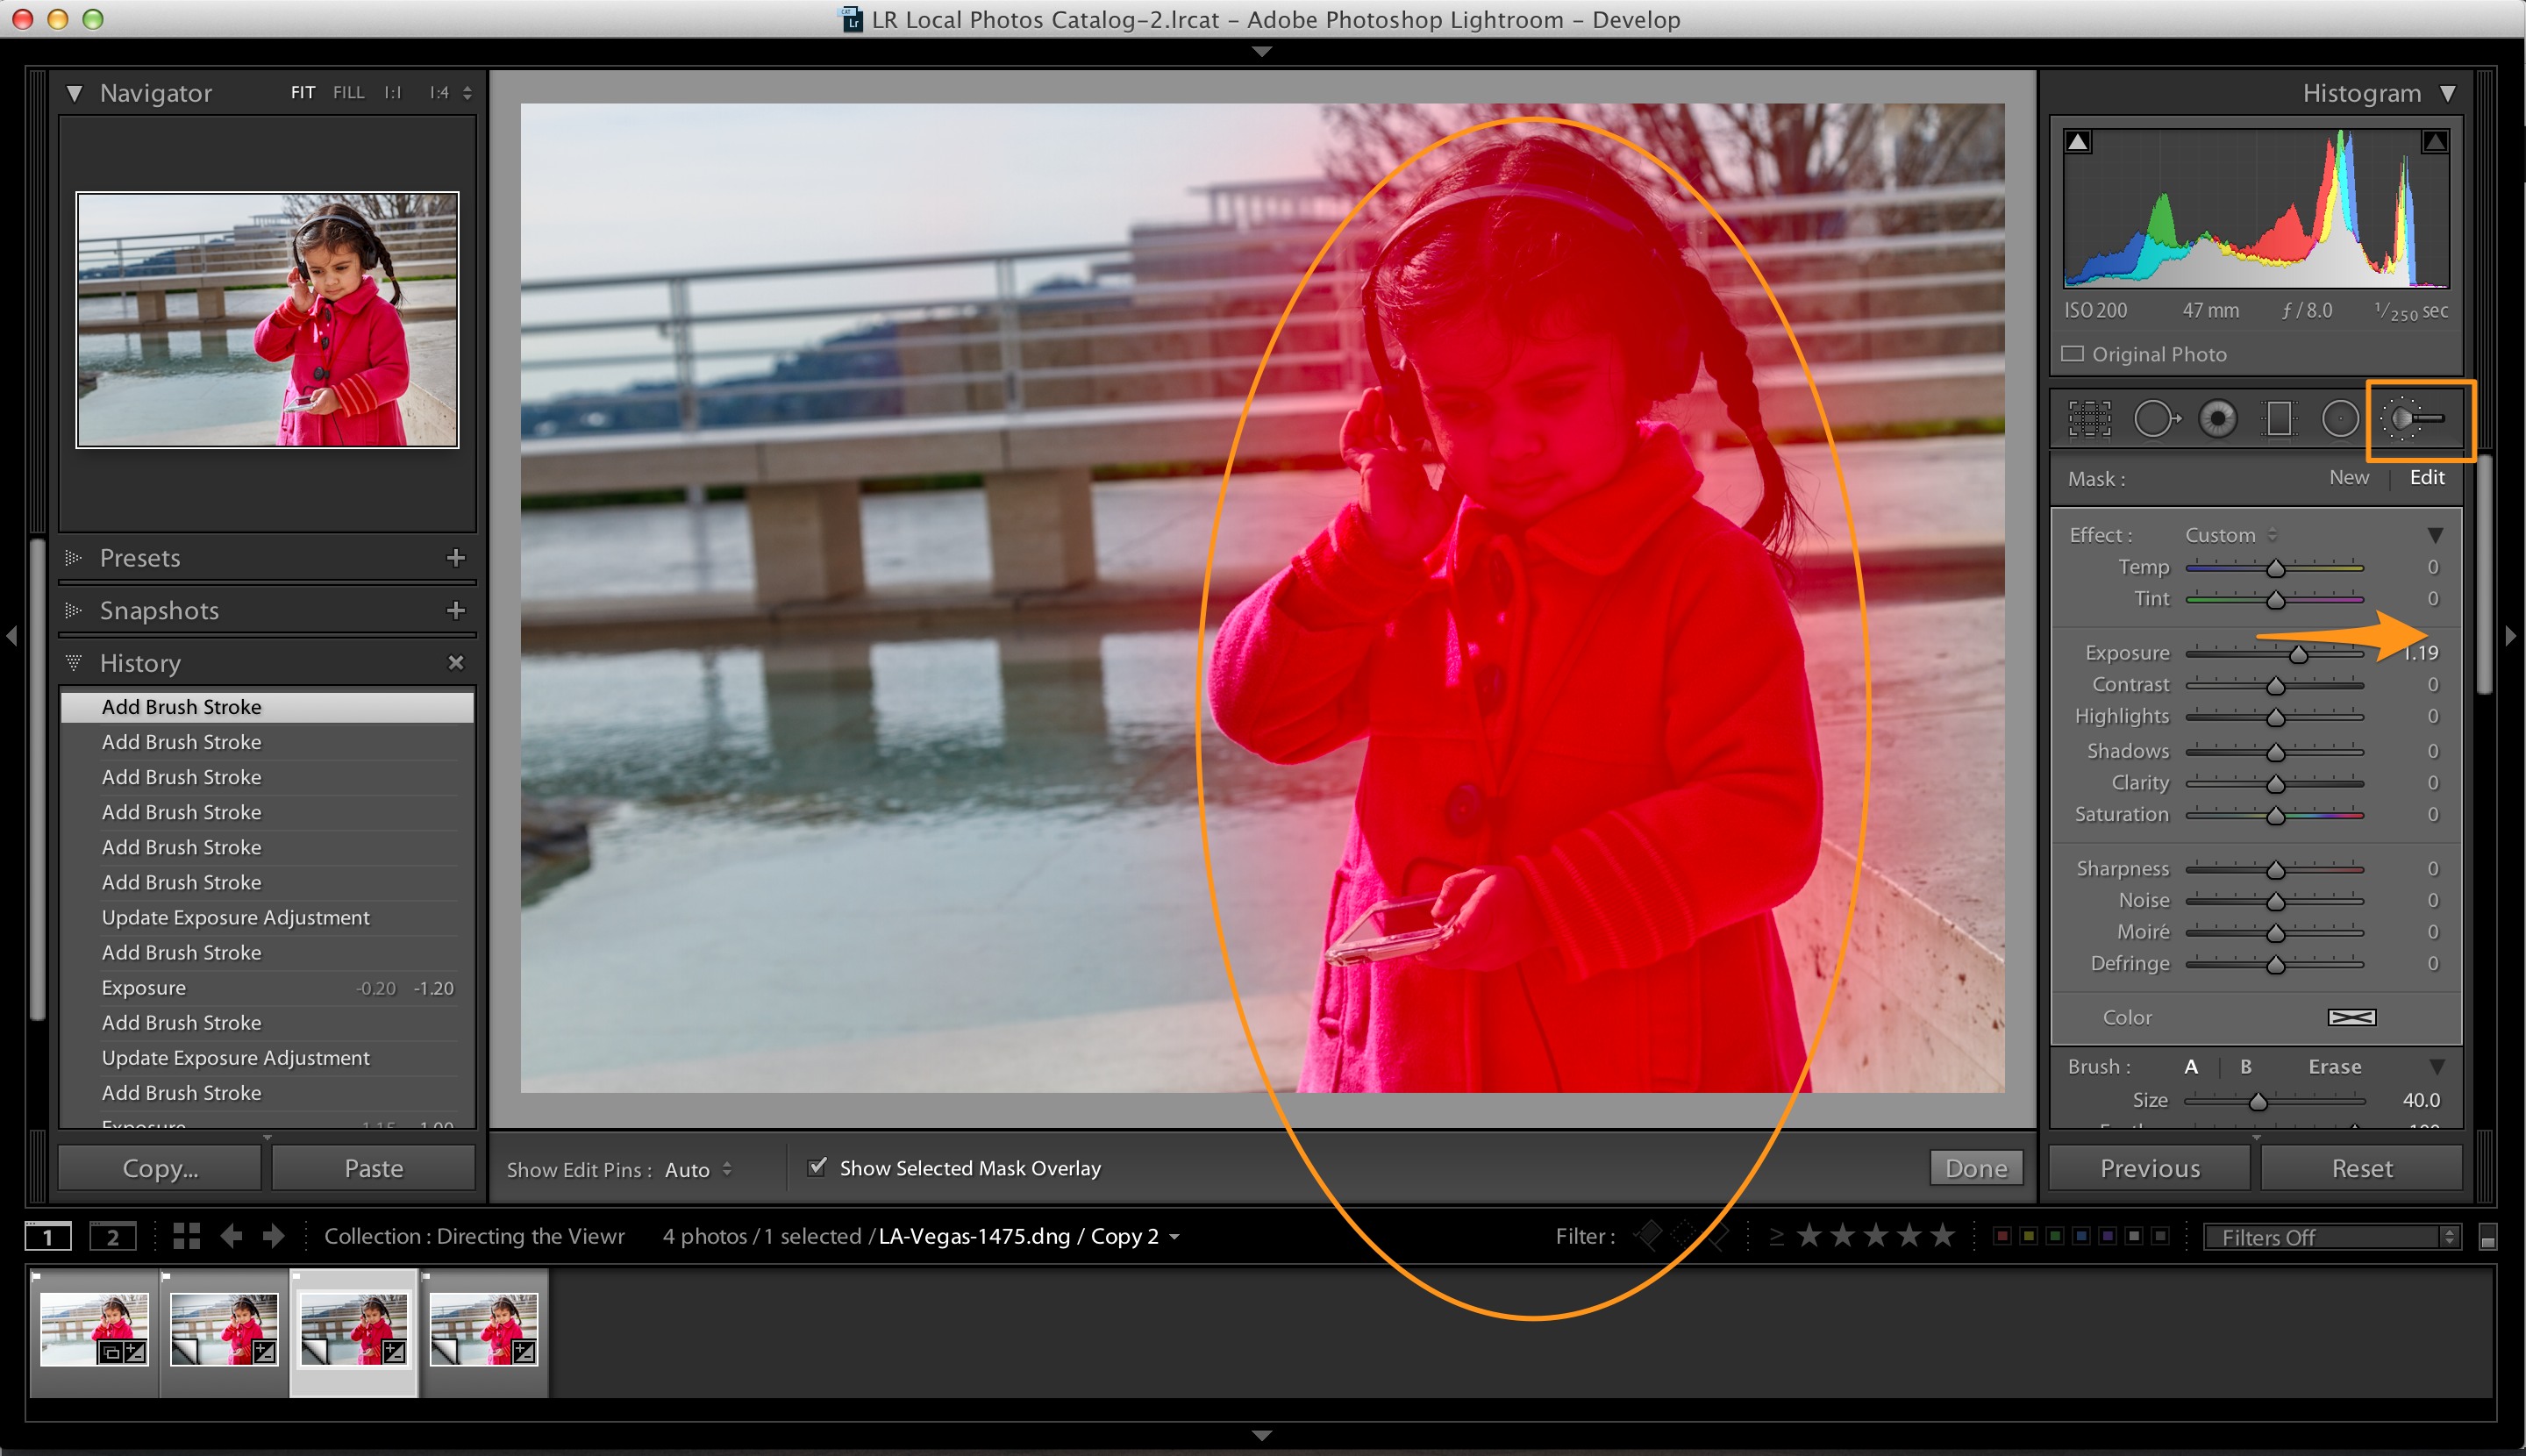
Radial Filter
This is a new feature in Lightroom 5 that has many uses but in this context we can use it to direct the viewer’s eye to exactly where we want. The Radial filter can be easily moved around the image to place exactly where we want. It can be Circular or Oval in shape, just drag the anchors to create the desired shape.
Use the Radial filter and set a negative Exposure (eg. -1 exposure) then draw the Radial filter over the subject but what you will see is that opposite of the desired result is happening. The region covered bye the Radial filter is darkening, so to reverse the effect of the filter until the option Invert Mask located at the bottom of the Radial Filter.

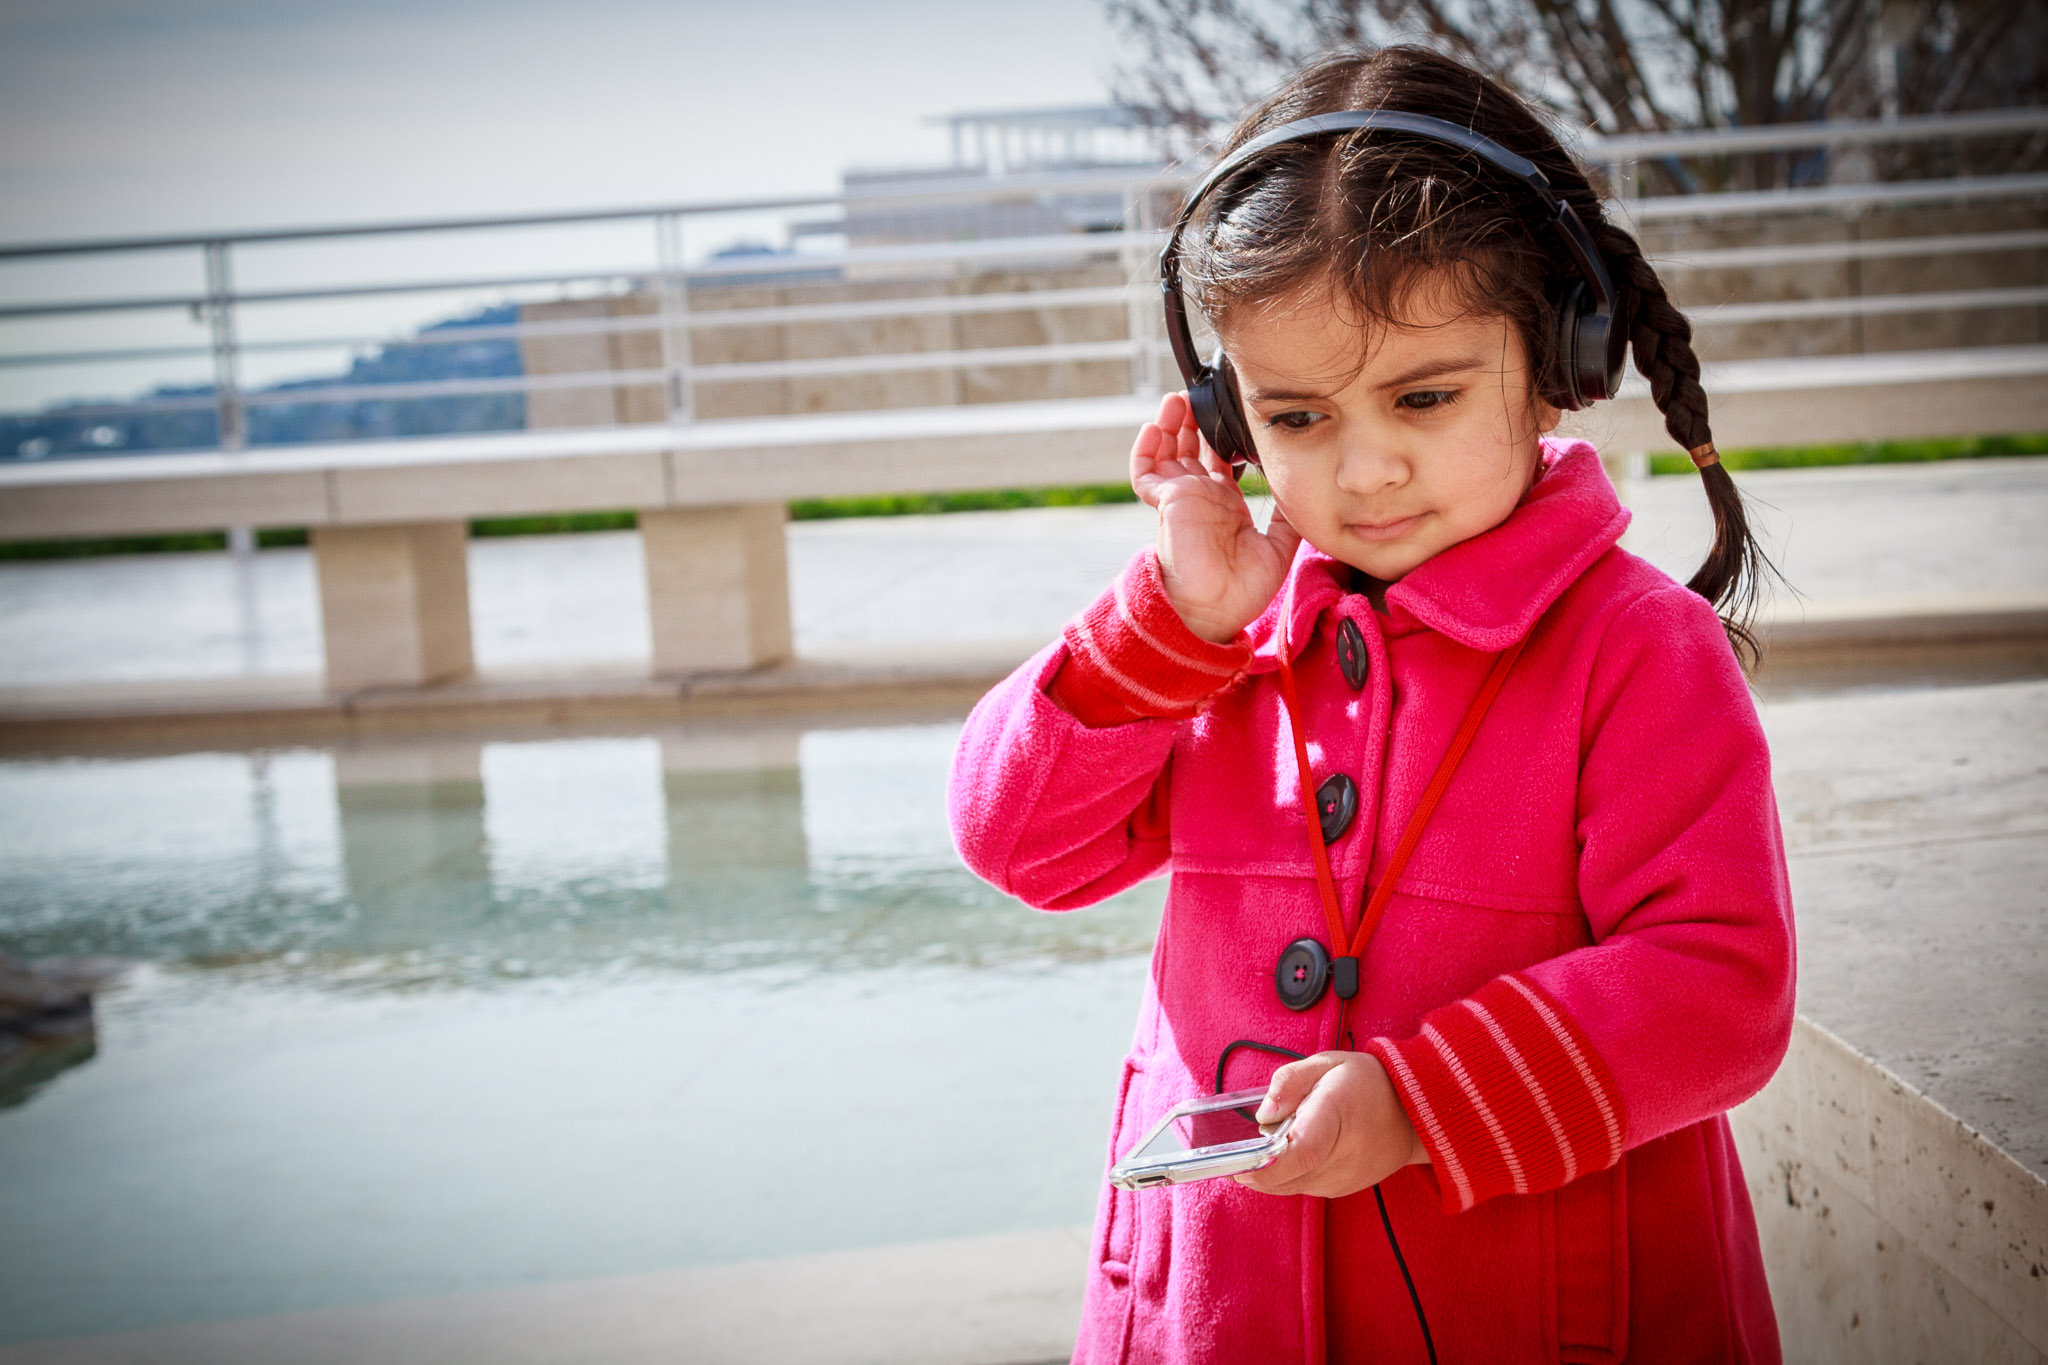
This will darken the area outside the Radial filter thus bringing the attention to the subject enclosed in the Radial filter. You can also use the opposite method by adding +1 Exposure using the Radial filter to focus the attention of the viewer on the subject but in this case this image is quite bright already so making it brighter may not achieve the same result. Hence why I used the above approach.
All four together. The Original, after the Post-Crop Vignetting, after the Adjustment brush and finally the result after applying the Radial Filter.
Original Image
Post-Crop Vignetting

Adjustment Brush

Radial Filter


