Having been using Lightroom Classic for many years now, you start to get a sense of how powerful the different components are. But more importantly knowing what the different components or modules do, lets you find innovative ways to use them.
This is one of the techniques I’ve figured out through experimentation and work 90% of the time on most landscape photos. So let’s get started with this method.
Step 1
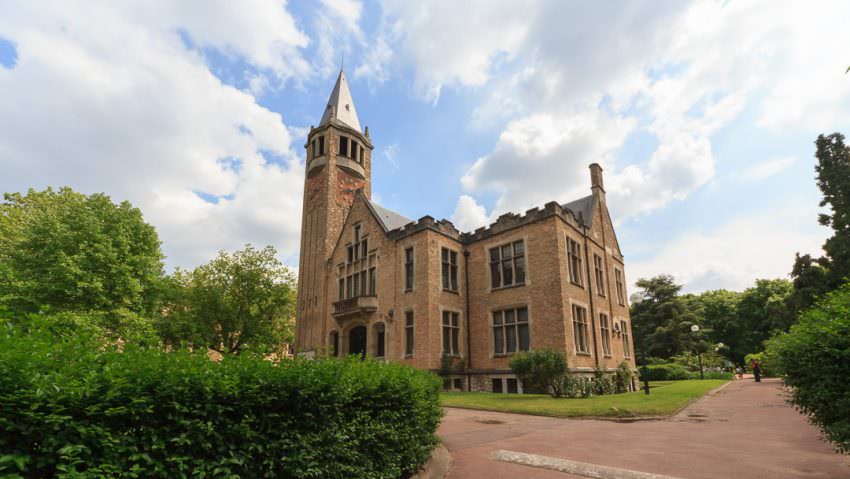
As with any landscape, architecture or seascape shot where you have the sky visible you want to add Graduated filter to reduce the exposure. Of course if you use physical filter on your lens to achieve this then you can skip this step.
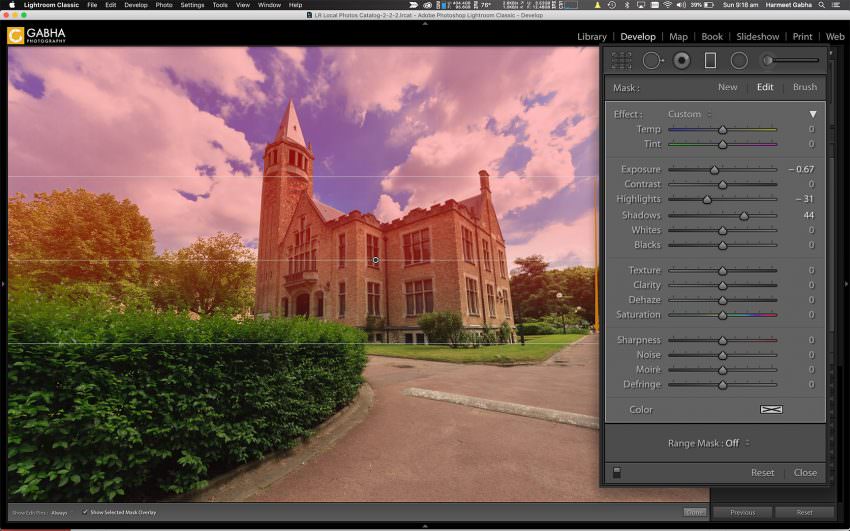
In my case I don’t use such filters as I prefer/enjoy the editing process on the computer. So here are my settings for the graduated filter, for this image:
- Exposure : -0.67
- Highlights: -31
- Shadows: +44
After you apply the Graduated Filter, I assume you have done the basic edit using the Basic module. I am going to focus on the Sky only in the next step.
Step 2
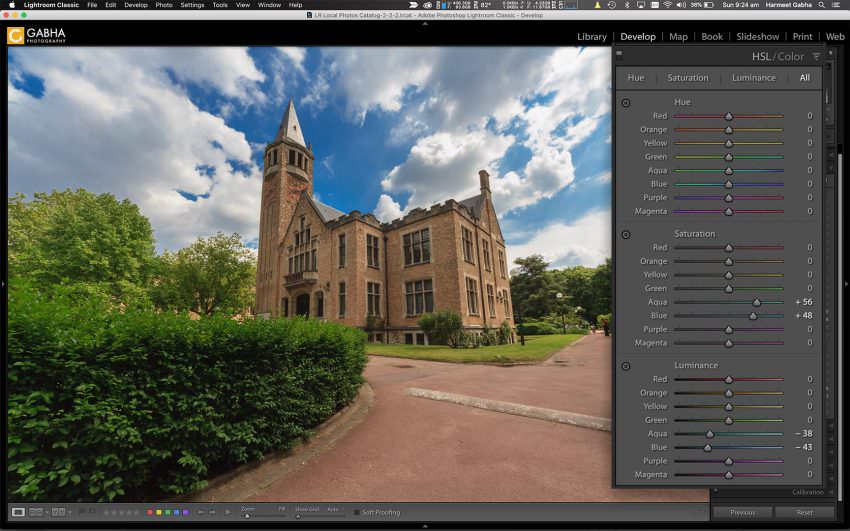
This is where the final Sky Pop comes in. You need to open the HSL (Hue/Saturation/Luminance) module and select the All option. This will show you all the sliders in this module.
We are going to use two Saturation and Luminance sliders. Saturation – increases/decreases the intensity of the colour while Luminance increases/decreases the brightness of the colour.
For a blue sky you want to adjust the Aqua and Blue sliders only. For a sunrise/sunset you can in addition to Aqua and Blue adjust Red, Magenta, Orange as well. And the adjustment is subject to taste, my settings are now what you should use.
Whatever colour you use, use want to increase Saturation and reduce Luminance
Saturation
- Aqua: +56
- Blue: +48
Luminance
- Aqua: -38
- Blue: -43
Conclusion
That is it pretty much you are done!!
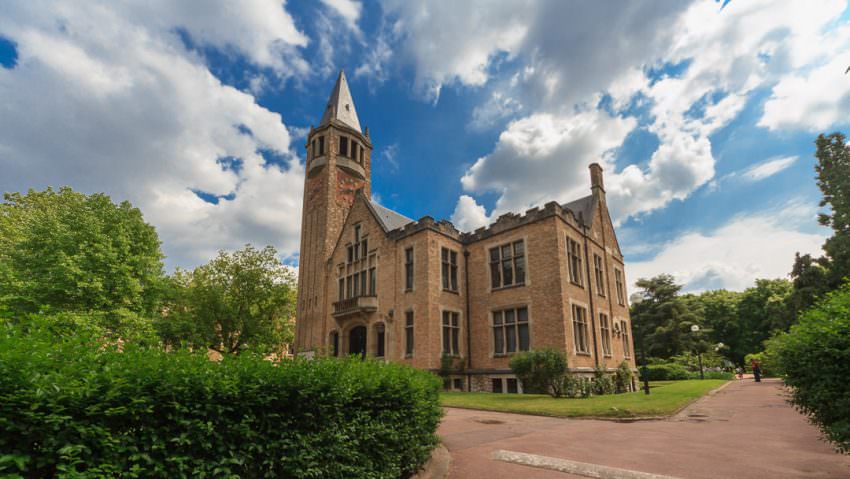
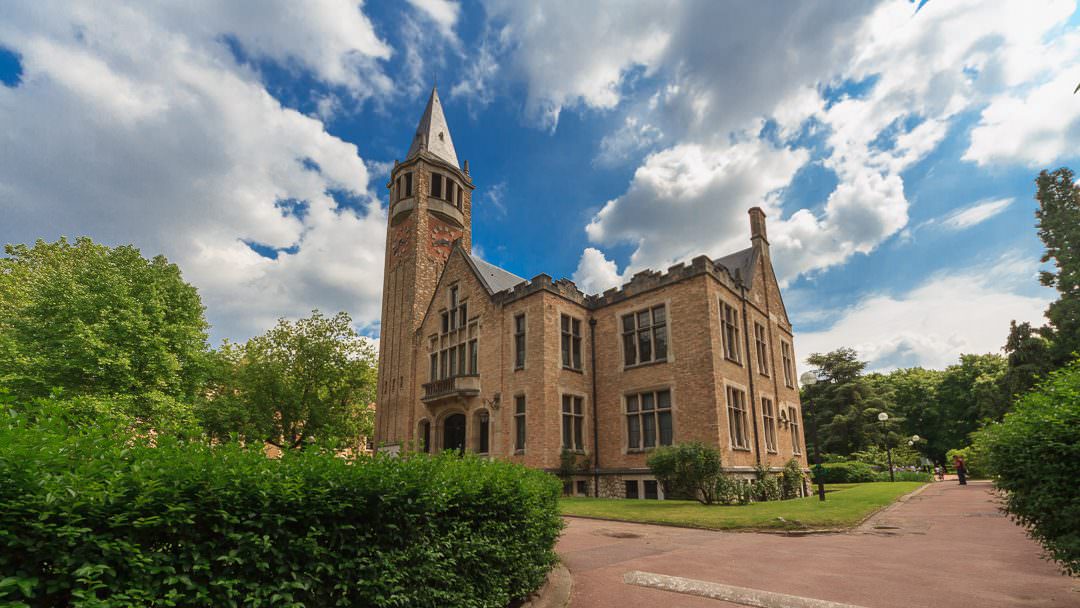
You should compare the before and after using the backslash (\) key in Lightroom and you will see how much better the sky looks. Its colours should be popping out.
To see only the affect of the HSL adjustment, simply toggle the little switch next to the HSL module.
My final result is below with these adjustments. You can use the slider to compare the before and after image. If you liked this post, don’t hesitate to share it with your friends.