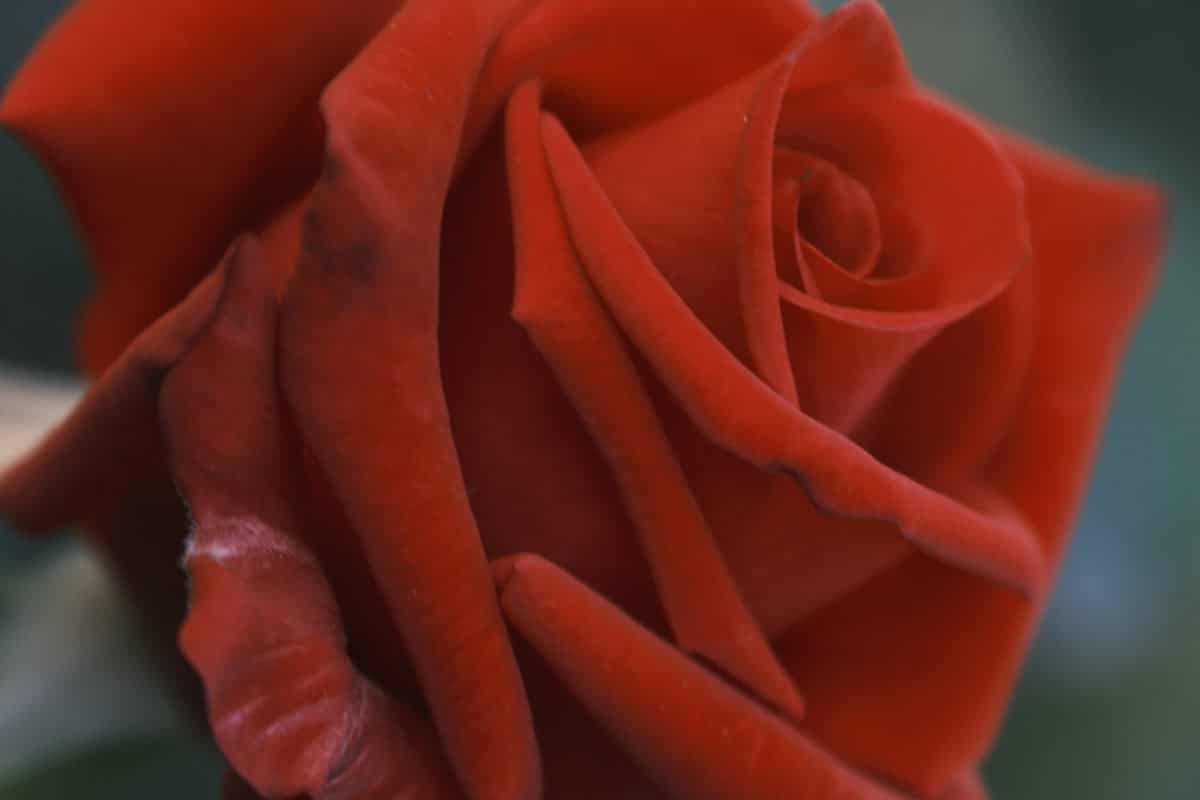
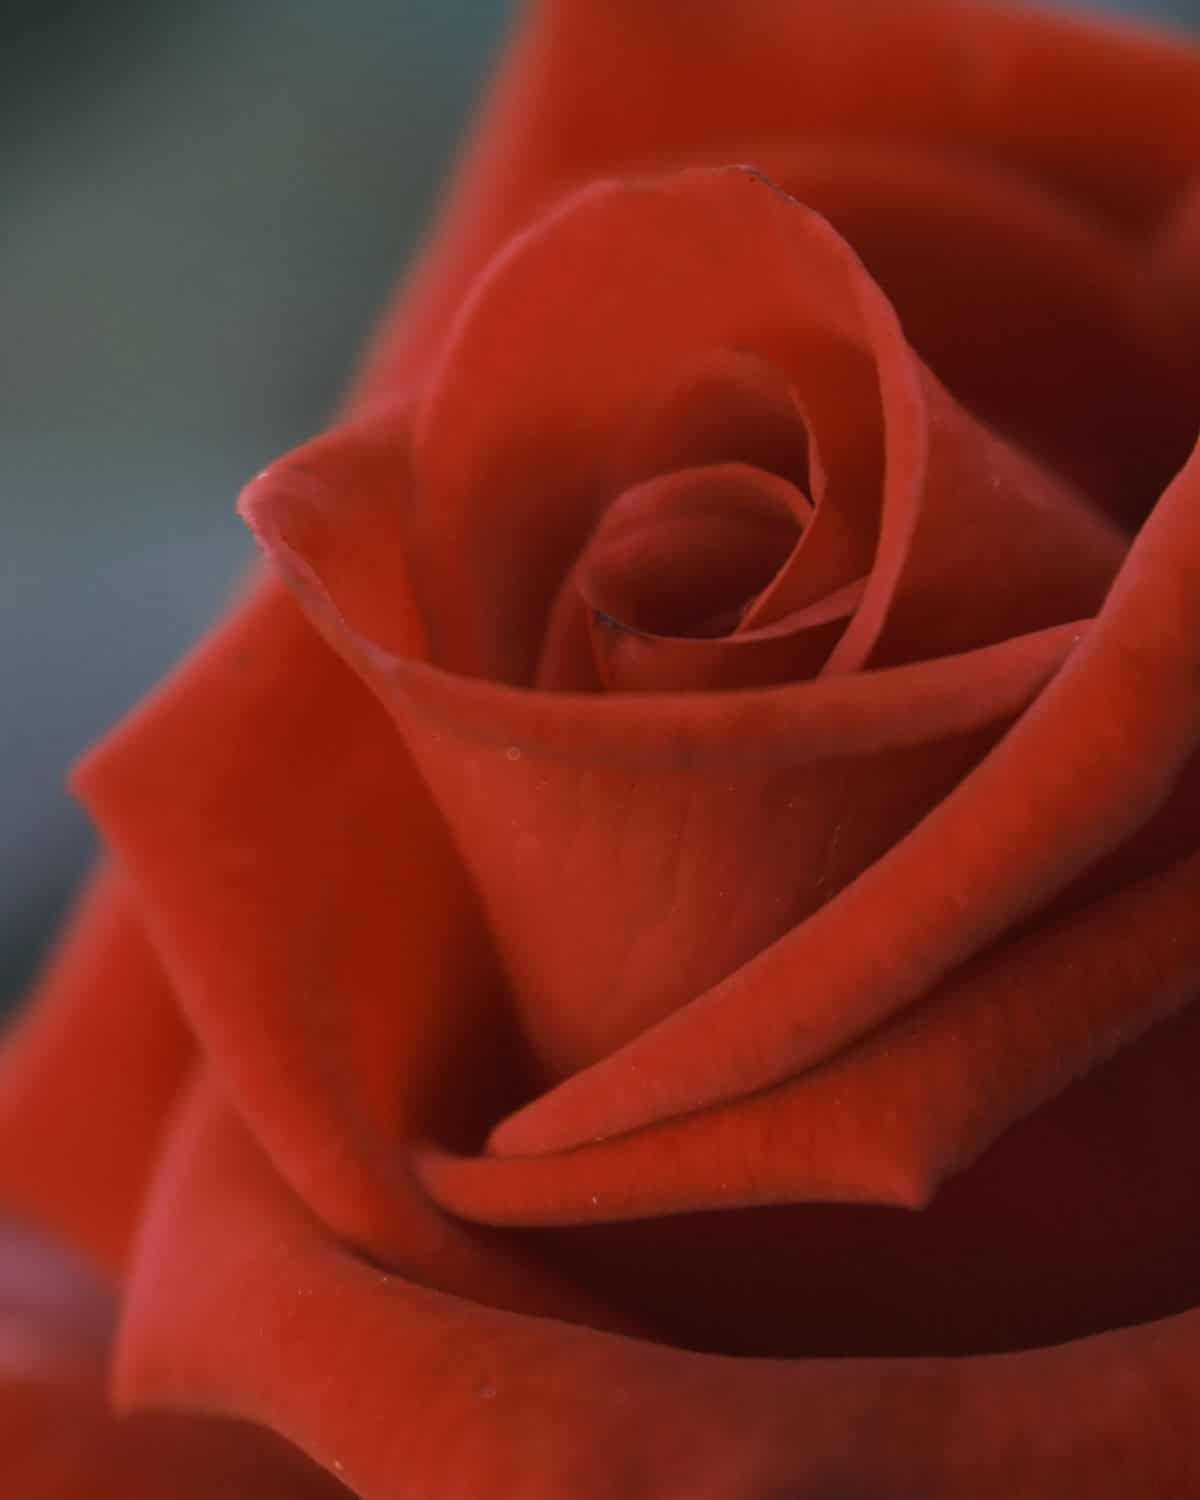
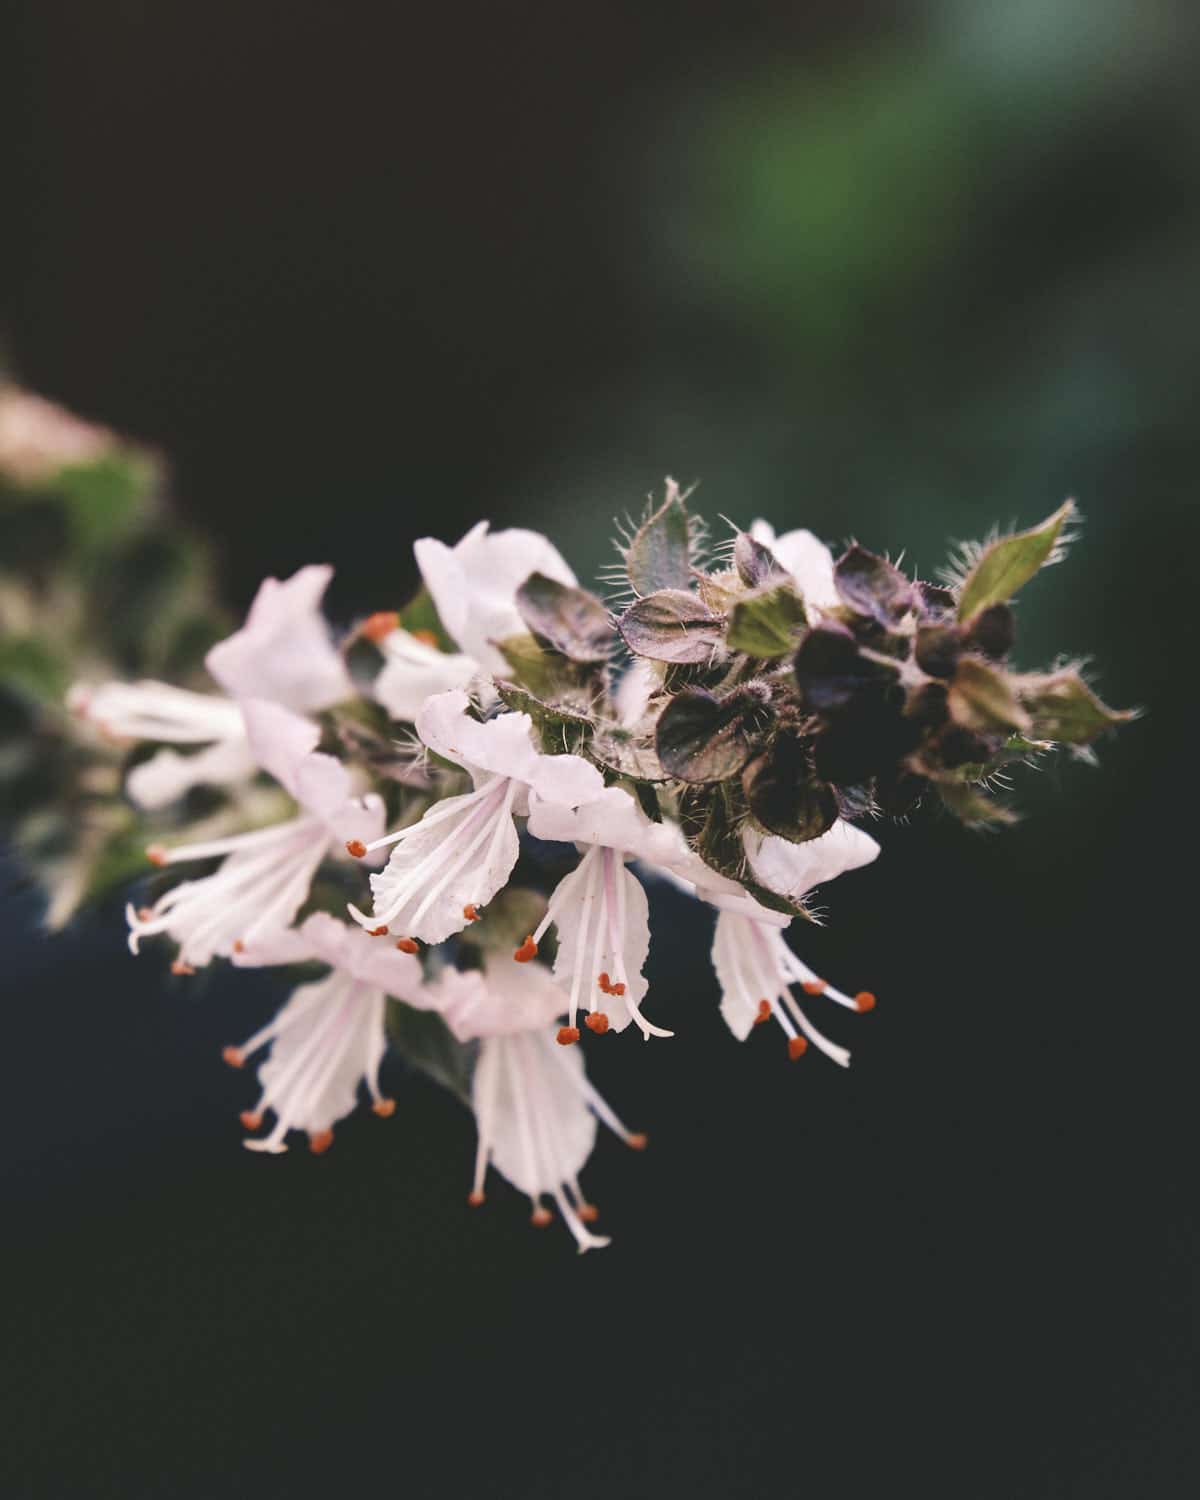
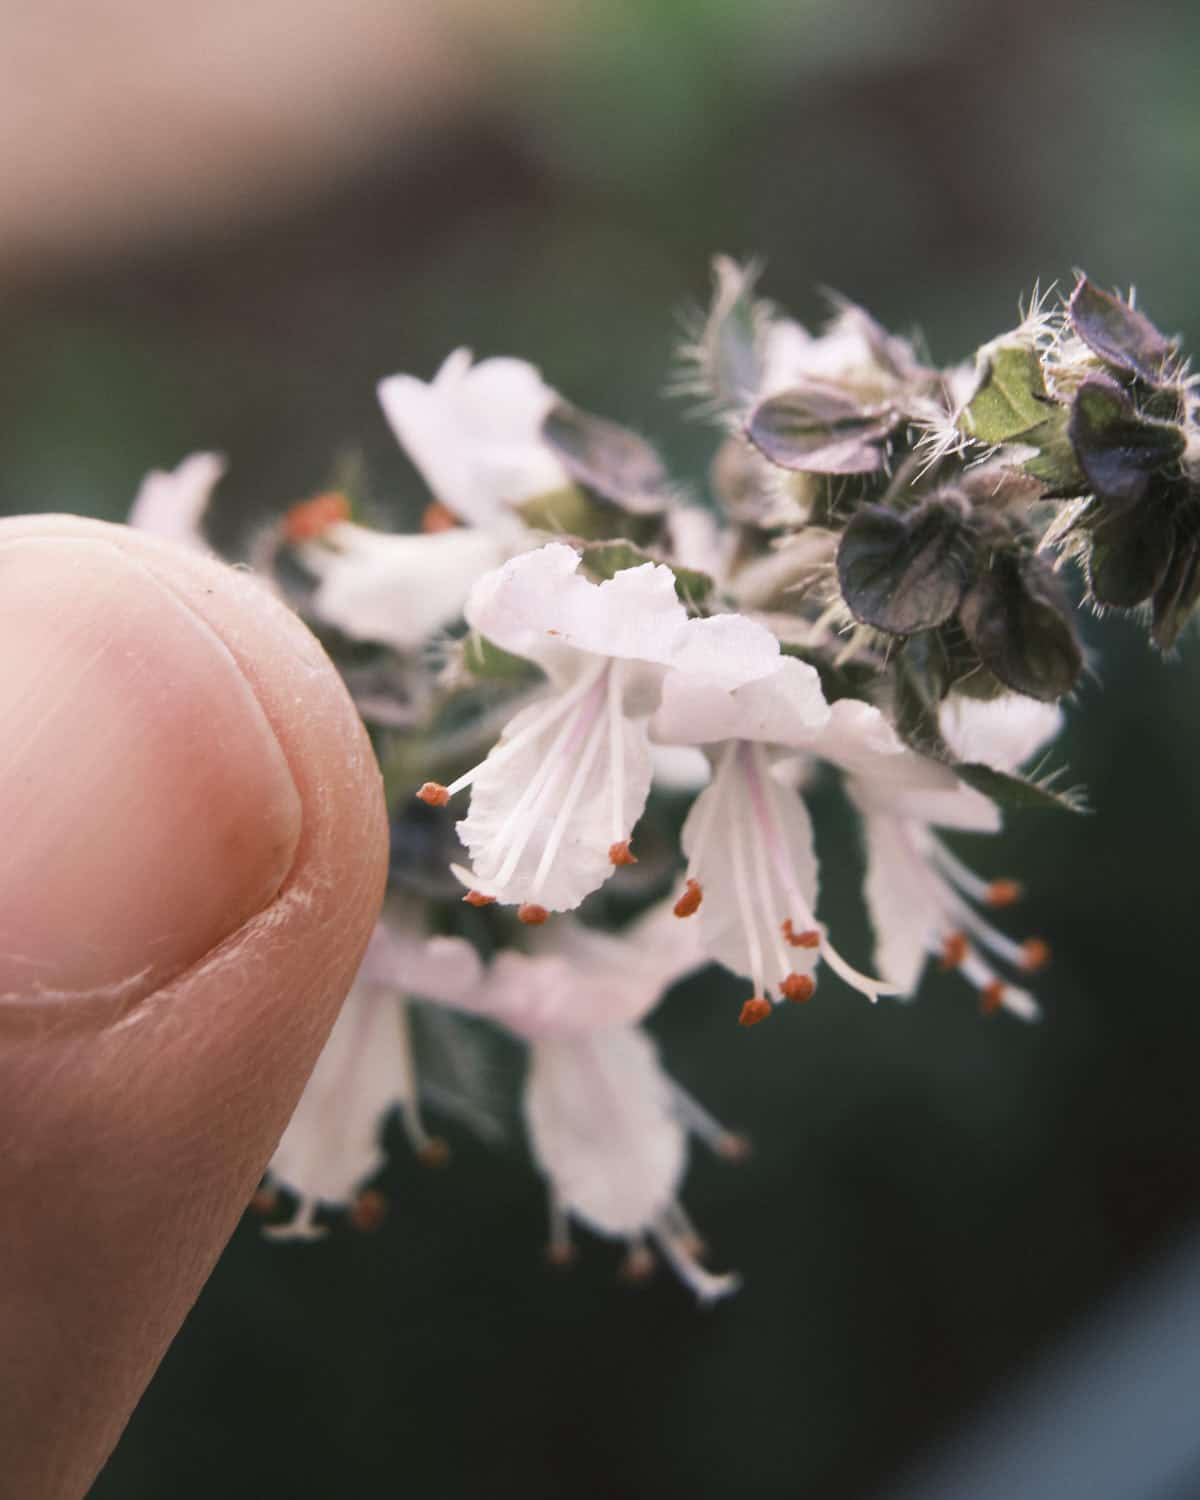
Macro photography is a one of the photography genres that is quite exciting and rewarding as it gives us opportunity to see the things with a whole new perspective. Things that we often miss suddenly become much more noticable with macro photography.
However to get into macro photography you often need to invest in a specialised lens that each Camera manufacturer makes. These lens are not very cheap as they are specifically built to focus on close range subjects, and by close I mean 5-10 centimetre close.
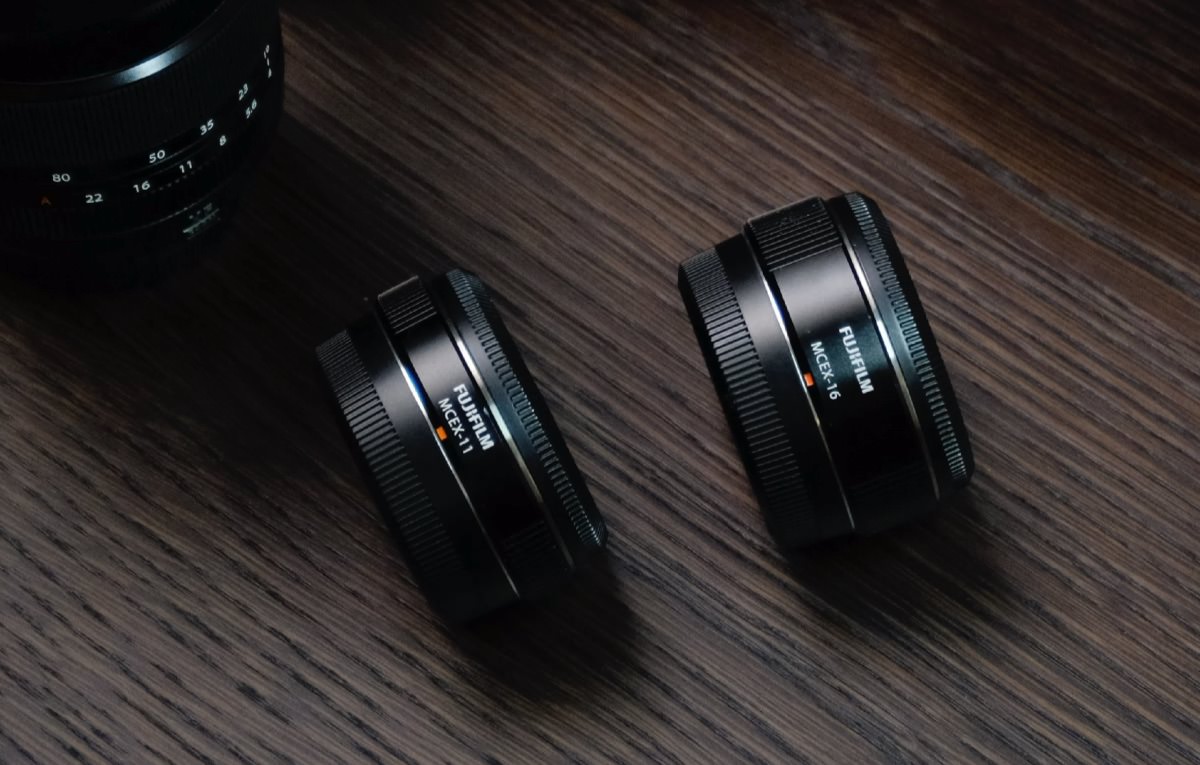
Macro Extension Tubes MCEX-16 and MCEX-11
What do you do when you don’t have such lens in your kit? Well you get one or two Macro Extension Tubes. These extension tubes MCEX-11 & MCEX-16 are merely blank extensions with no glass in-between that are connected between the body of the camera and the lens. Most of them will have electronic contact points so that the camera is still able to drive the focus, control the aperture and meter the scene correctly. Therefore make sure the camera achieves the correct exposure for the shot.
You can also get aftermarket extension tubes but you have to be careful if they are designed to allow aperture and focus controls or not.
In this post and above video I show you how you can take any of your lens that you have and use them as Macro lens with these extension tubes.
Normally, you’d get one of these or both depending upon your needs. For me to try and test, Fujifilm Australia were kind enough to let me borrow both of them. The advantage of having both is that you can stack them together to get even closer to your subject.
Pros
This method is an inexpensive way to get started with Macro Photography. You can get a taste of what its like to shoot Macros. The results you get are still very nice, sharp and definitely something you can print or use for commercial work. When you are ready to take the next leap, get a Macro lens. I have the Fujifilm XF80mm F2.8 Macro lens which I love dearly.
Cons
On the flip side, one of the draw backs is that the amount of light reaching the sensor decreases when you install extension tubes. This makes it the shutter speed slower and could result in motion blur if you are hand holding the camera or relying on natural light alone. An easiest way to counter this is to increase the ISO in your camera to get a faster shutter speed so your images are nice and sharp.
My Testing
In my testing, I used several of my Fujifilm XF lens and found that the extension tubes considerably shorten the focusing distance between the lens and subject. I tested with the following lens during the course of time I had these extension tubes, I did not cover all of these in the video (only two lens XF 16-80mm F4 and XF 56mm F1.2)
Lens tested in my case are:
- XF 23mm F1.4
- XF 56mm F1.2 R
- XF 18-135mm f3.5-5.6 R LM OIS WR
- XF 16-80mmF4 R OIS WR
- XF 50-140mm F2.8 R LM OIS WR
- XF 80mm Macro F2.8
XF 80mm F2.8 LM OIS WR Macro
Combining the Extension Tubes with the Macro 80mm lens was ridiculously crazy, as you can get so close to your subject that you have to remove the Lens Hood in order to be able to focus properly. I would not bother with that, if you already have a Macro lens, use it as is. Do not bother attaching an Extension Tube to it, unless its for a very specific case. But if the need is there, its certainly a functioning combo to use both the Macro lens with Macro Extension Tube(s).
See below the samples of without and with extension tubes.
XF 80mm F2.8 LM OIS WR Macro @ F4 – 1/6th second – ISO 800
XF 80mm F2.8 LM OIS WR Macro with MCEX-16 @ F4 – 1/6th second – ISO 1000
XF 50-140mm F2.8 R LM OIS WR
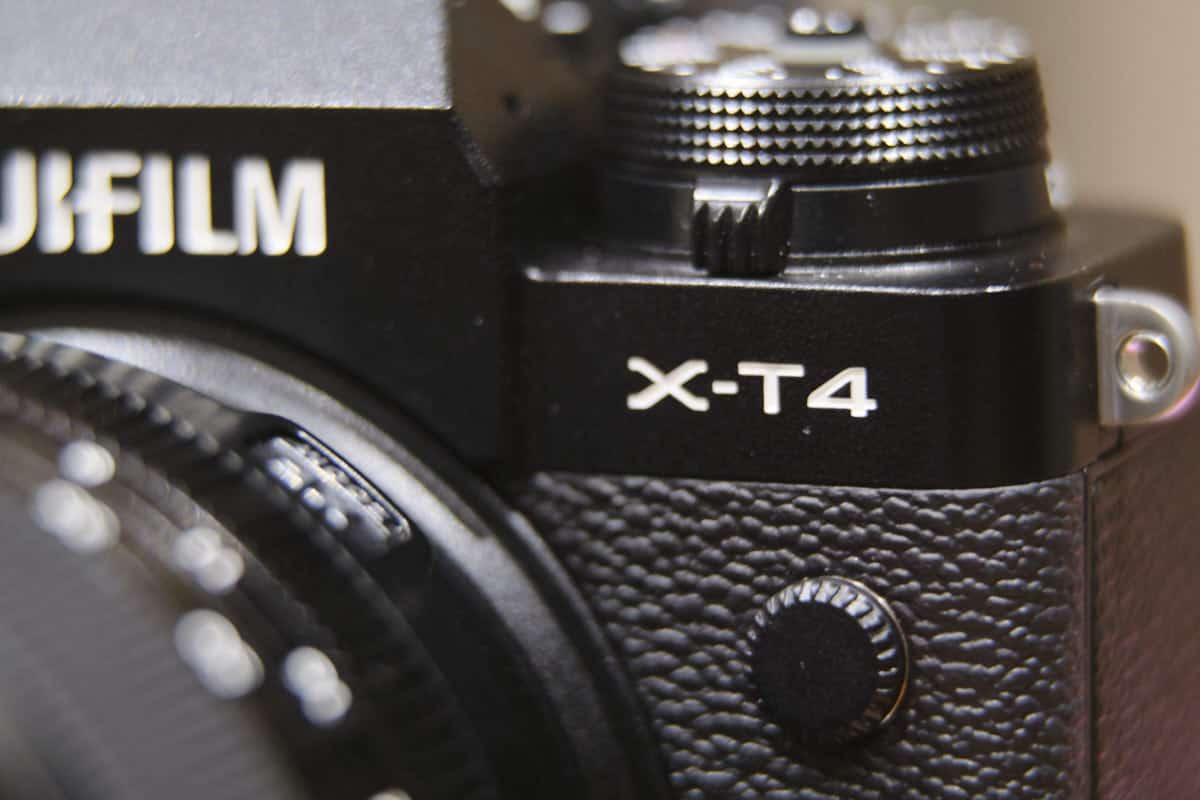
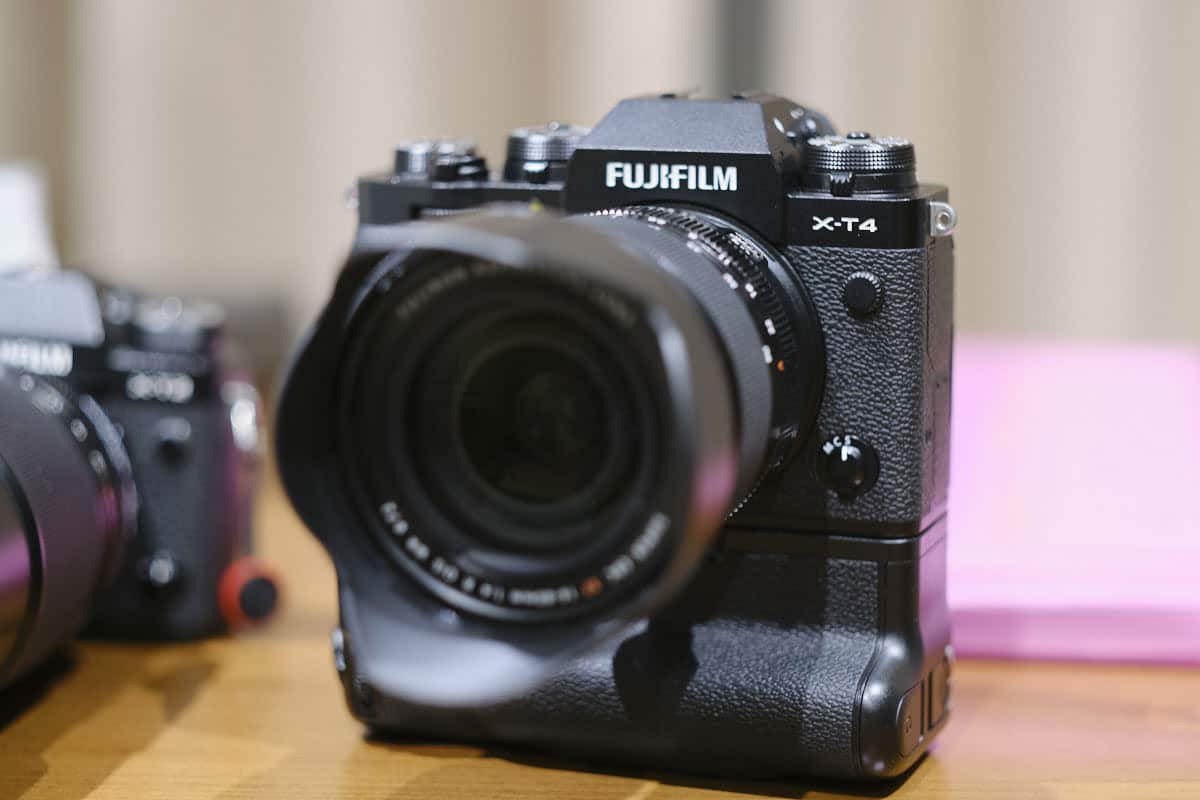
When testing this lens, I attached only the MCEX-16 extension tube and took a few shots to see the difference between the with and without. You can see below that in the first shot I can see most of the X-T4 in the frame as the focusing distance is quite significant with this large zoom lens. This is the closest you can get with this lens initially without any extension tubes.
XF50-140mm F2.8 R LM OIS WR @ F2.8 – 1/8th second – ISO 1250
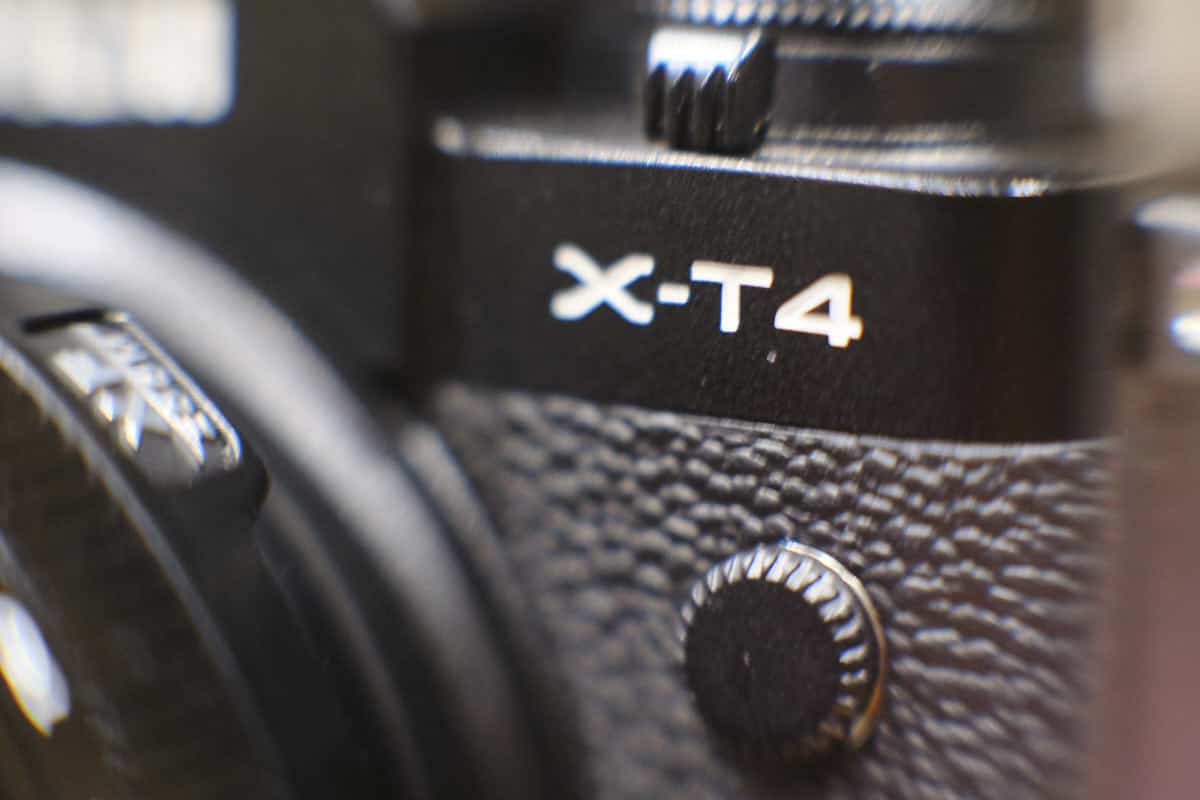
However, as soon as you attach the extension tube, you can get a lot closer and tighter with your framing. While keeping the lens hood on of this lens, I was able to get signifactly closer but at the same time the depth of field is reduced considerably when shooting at F2.8.
XF50-140mm F2.8 R LM OIS WR with MCEX-16 @ F2.8 – 1/5.3th second – ISO 1250
Image stablisation still continues to function with the extension tube which allowed me to handhold and shoot at such low shutter speeds. I was shooting with the X-T3 which has no IBIS unlike the X-T4 (checkout my Reivew of X-T4).
XF 56mm F1.2 R
A much loved portriat lens that is fantastic at taking portraits in any kind of light. It’s the 2nd lens that I bought when I switched over to Fujifilm gear and its something I take with me often. It’s not a lens that I have used as often as I’d like but it goes with me whenever I travel. So I thought to test this lens with the extension tubes.
XF 56mm F1.2 R @ F2 – 1/20th second – ISO 1250
Although the 56mm works I did start to see some problems when I was using both extension tubes with this lens. You can see in the image below that there is this halo forming around the corners of the frame, which is caused by the two extension tubes used in conjunction.
XF 56mm F1.2 R with MCEX-11 & MCEX-16 @ F2 – 1/17th second – ISO 2500
In the video above, I did use the XF 56mm extensively to test and get up close to the subject, just with one extension tube. When using the lens with only one extension tube, you don’t get any such issue. It is only apparent when you have two of them attached.
XF 18-135mm f3.5-5.6 R LM OIS WR
XF 18-135mm is one of my favourite lens and something I have owned forever. It’s great focal lenght makes it a versatile lens for travel (if you can remember what that was like – before 2020). When paired with the MCEX-11, it certainly let’s you get closer to the subject can capture more of it in the frame.
Check out the two pictures below which illustrate the difference.
XF 18-135mm f3.5-5.6 R LM OIS WR @ F5.6 – 1/60 second – ISO 200
XF 18-135mm f3.5-5.6 R LM OIS WR with MCEX-11 @ F5.6 – 1/60 second – ISO 250
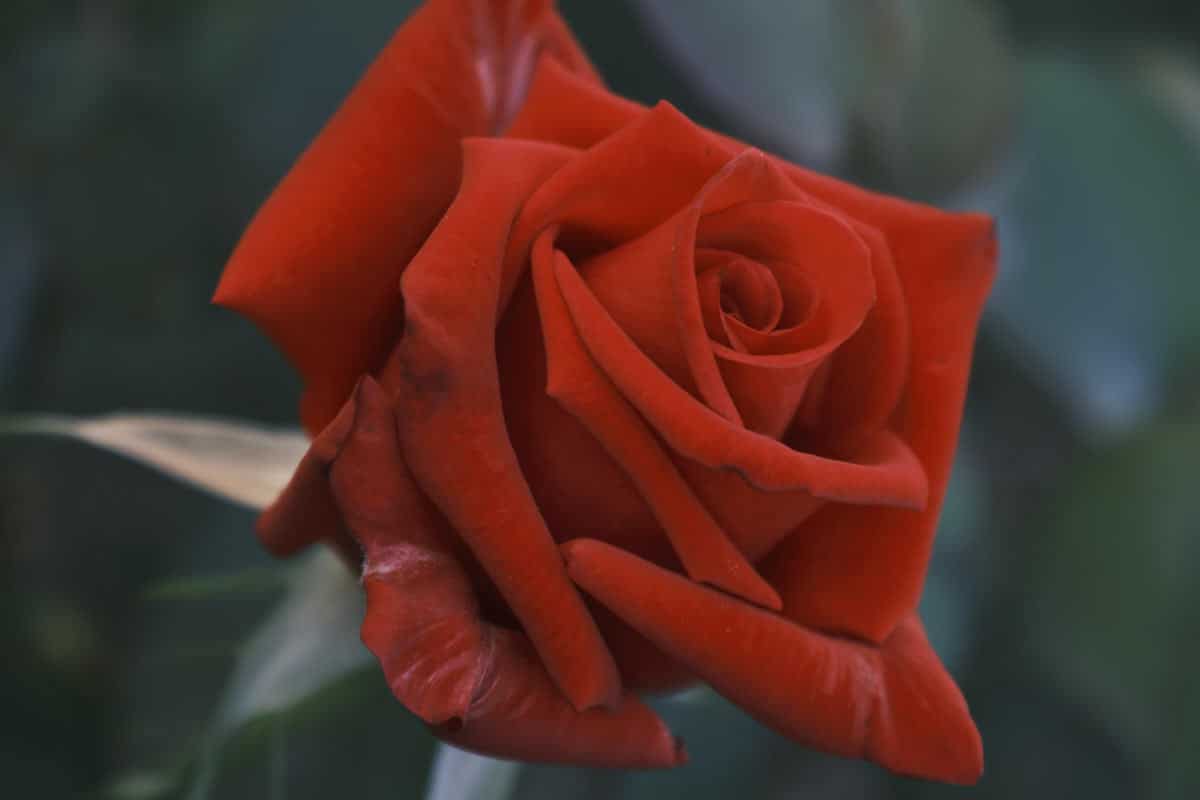
Attaching both extension tubes, really shortens the focusing distance with this lens. I got real close with this lens to the rose flower and it captures nice sharp details as well while the bokeh remains nice and soft in the background.
XF 18-135mm f3.5-5.6 R LM OIS WR with MCEX-11 & MCEX-16 @ F5.6 – 1/60 second – ISO 250
Conclusion
Hopefully with all these comparisons, I have managed to demonstrate the advantage of using Macro Extension tubes to shoot Macro photographs and enjoy seeing the smaller details of the world around us. It is definitely the easiest and most inexpensive way to try macro photography.
Eventually you can decide to get a Macro lens or not! There is no reason why macro extension tubes alone could not meet your need to get close up macro shots.
Note: this post contains some affiliate links which help support this website, it doesn’t cost you any more if you do wish to make a purchase using these links.


