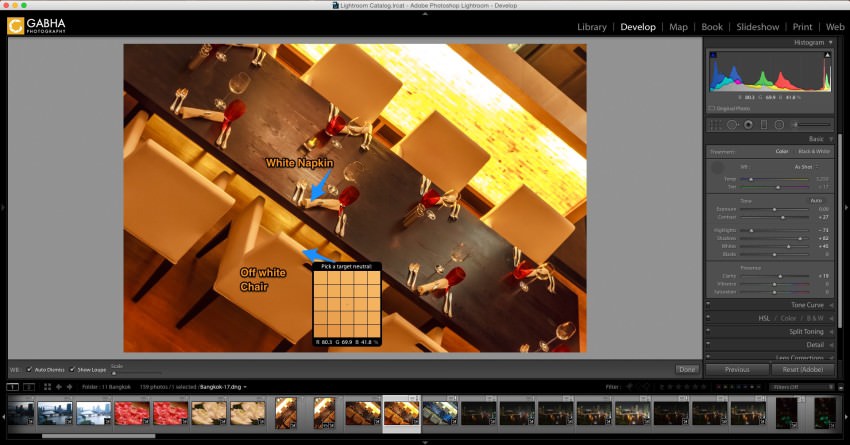
One of the main things I struggled with when I started photography was getting the White Balance correct. For those who don’t know, an incorrect white balance is when the image ends up being either too blue or too yellow in colour due to the lighting in the room.
 If you are just starting up with your first camera the chances are you are shooting in JPEG images which don’t have any white balance information built-in to them. This means you don’t have the flexibility or the knowledge (yet) of shooting in RAW.
But what people often don’t know that Lightroom has a very easy fix for fixing this issue. Here is how:
- In the Develop Module, you will find under the Basic panel an eye dropper tool which is called the White Balance selector. Keyboard shortcut is W.
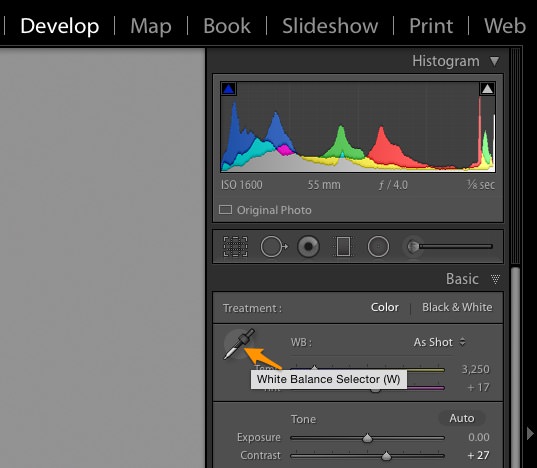
- Your mouse cursor will now be this Eye Dropper icon. However over a spot on the image that you know will be a shade of grey or even white (which is the brightest shade of grey).
- Simply click on it and watch your image get corrected. You will notice that the Temp and the Tint sliders in the Basic panel will move automatically.
If you’d like to make your life even easier then feel free to navigate through the inter-web to get FREE Lightroom White Balance presets.
Final Result


