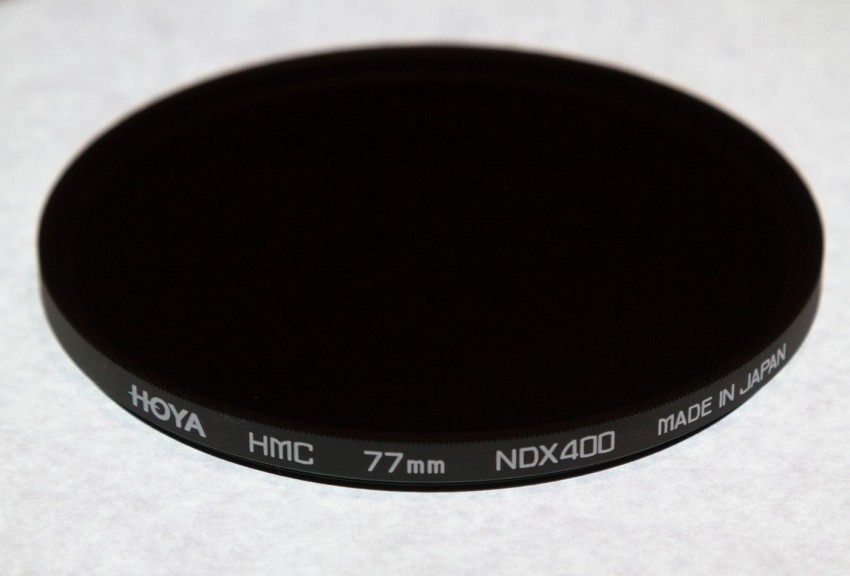
 ND filters (or Neutral Density filters) are used to capture time moving in your image by increasing the exposure time of your shot. This technique is called Long Exposure photography and I did talk about it in an earlier post The Black Glass where I talked about how to use this filter.
I guess this is the opposite of that post as we look at what you do when you forget to bring your ND filter with you and you suddenly get a great opportunity presents itself but you don’t have the filter in your bag. Its resting back in the studio or at home.
There is a waterfall in front of you and you want to take the silky smooth flow of water as it falls down the stones.
With Tripod
So if you do have your tripod with you (alternatively a rock or a bench you find available near by to sit your camera on), set it up and increase the exposure time as much as possible by doing the following things:
- Decrease the ISO to the lowest value possible (eg. 100 or 200 depending upon your Camera).
- Increase the Aperture to maximum F value (eg. 22 or 32 etc depending upon your lens).
Compose your image and then take the 10-20 shots at small intervals apart, use a remote timer or use a slow Burst mode.
No Tripod
However, if you don’t have your tripod again increase the exposure time to something you can hold steady comfortably. Normally, 1/60th of a second or some people can hold steady even slower down to 1/10th of a second. Anyway this will vary from person to person so you may need to test this out if you don’t know your personal limit.
- Decrease the ISO to the lowest value possible (eg. 100 or 200 depending upon your Camera).
- Increase the Aperture to high F value (eg. 11 or 16 etc depending upon your lens).
Compose your image and in this case shoot in Burst mode as you want least movement between each of your image frames. Fire off 10-20 shots.
The rest of the magic happens in Photoshop.
Photoshop Magic
Once you have your images downloaded on your computer, open up Adobe Photoshop and follow these steps:
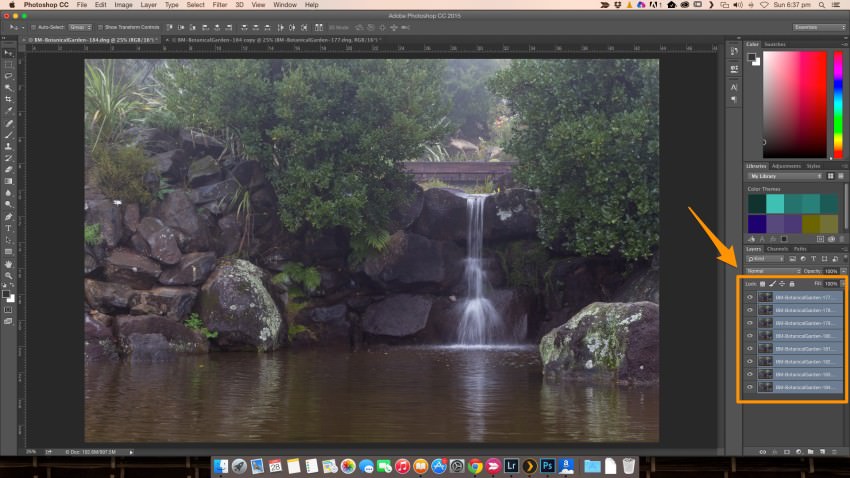
- Load all the images as Layers
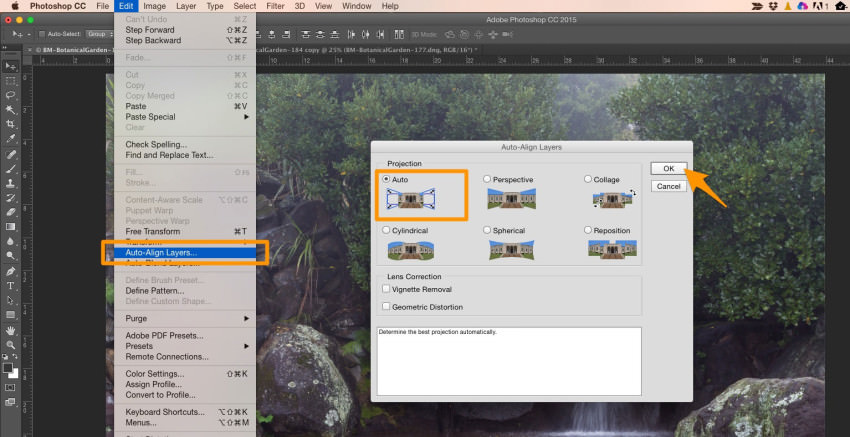
- If you used a Tripod you can skip this step or still do it doesn’t matter. From the Edit menu select Auto-Align Layers and the Auto as the Projection. Click OK when done.
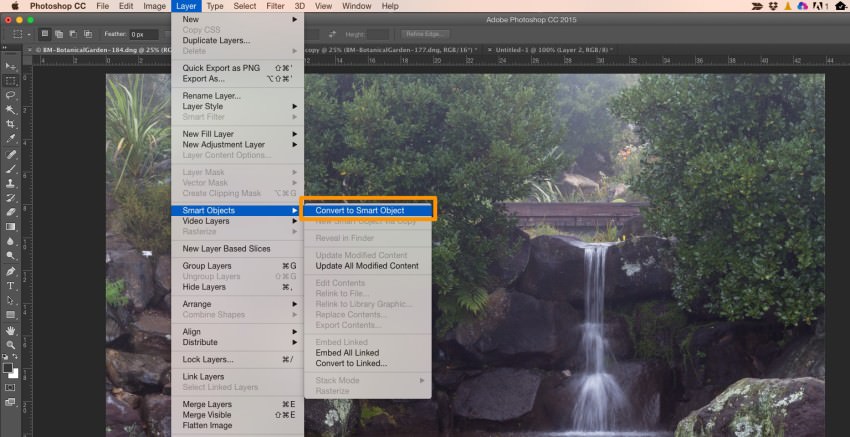
- Next we need to convert all the layers into Smart Object. From the Layer menu, select Smart Object and Convert to Smart Object. This process may take couple of minutes so be patient.
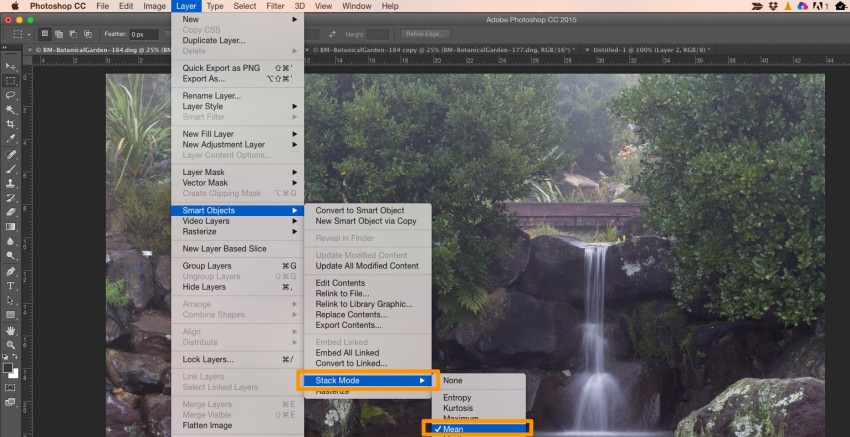
- Once that’s finished, go back to the Layer menu and Smart Objects. Go down to Stack Mode and select Mean (or sometimes Median works well as well). This process will take again bit of time to finish so be patient.
Final Result (Before After)
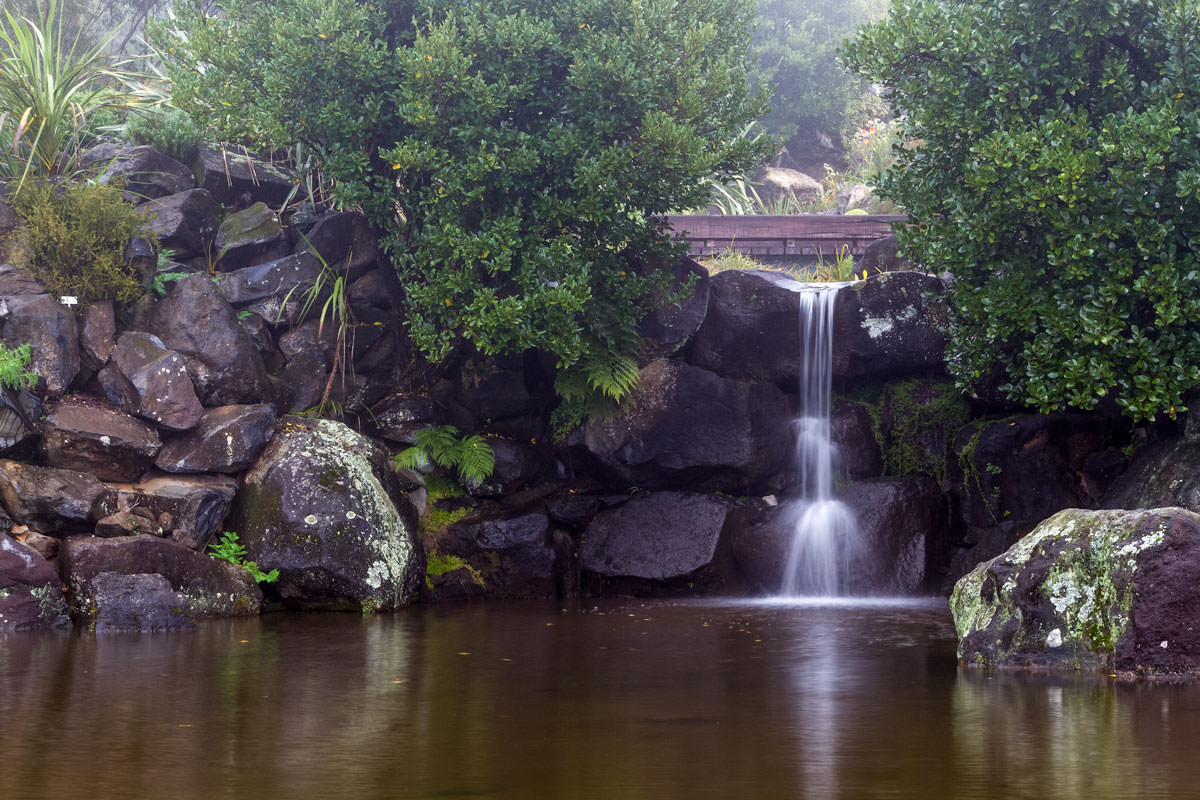
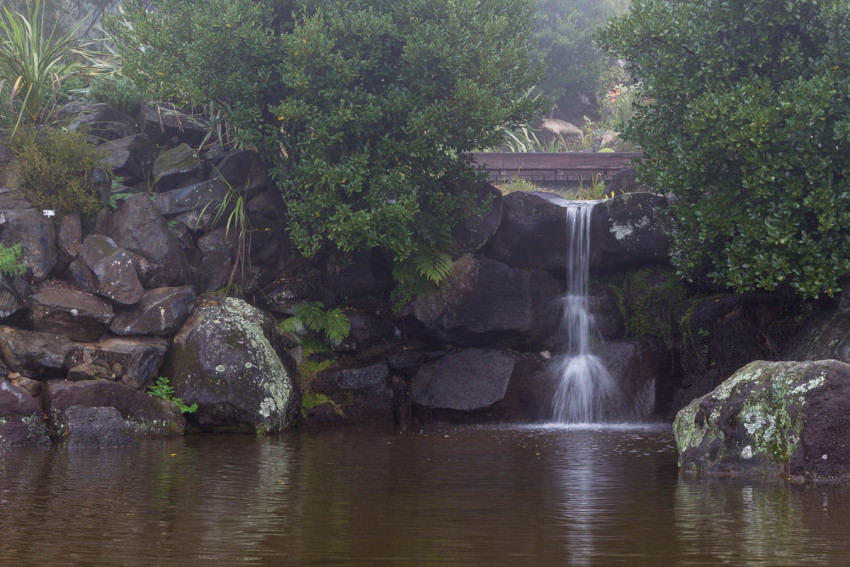
Here is the final result now has that silky smooth water and waterfall also looks like a white silk falling down the rocks. Now after a bit of time doing final editing in Lightroom, you can compare the before after images.


