
Texture Slider
Adobe released a new feature in Lightroom Classic CC a few week ago that saw a new slider added to the Basic panel of the Develop Module. This slider is the Texture Slider.
The simplest way to think about it that is kind of like Clarity slider but without all the side effects of bumping up clarity. What I mean by that is that when you crank up Clarity on your photo it becomes very gritty, colours get muted and contrast gets enhanced.
The Texture slider is different, it does enhance the details and textures in your image without impacting the colours and contrast. It is also not as strong as Clarity that it would make your photo gritty.
The slider is also available in Camera Raw so you can use it in Photoshop as well.
I had been playing around with this sliders and finding that Texture produces more pleasing results, where a Clarity is a lot harsh and contrasty (almost HDRish). See the comparisons below between Normal image (no Clarity, no Texture), Clarity (+100 value) and Texture (+100 value)
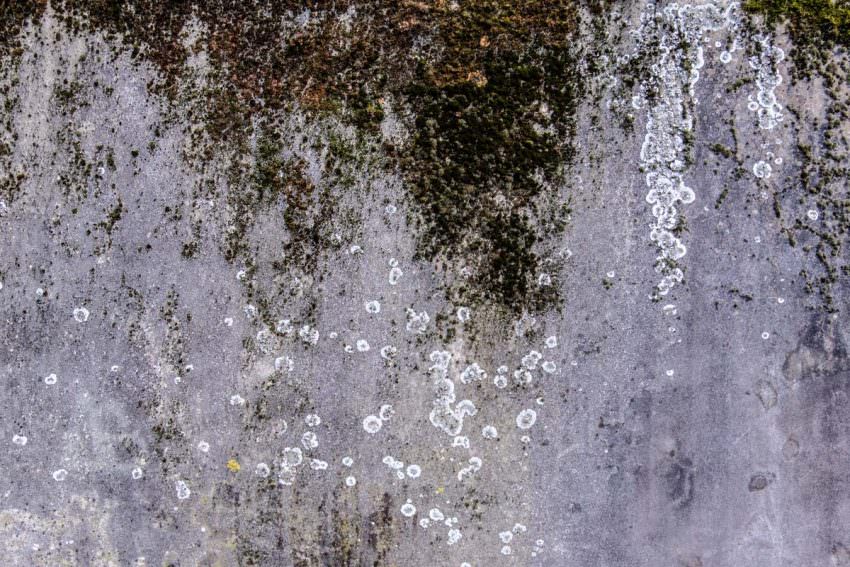
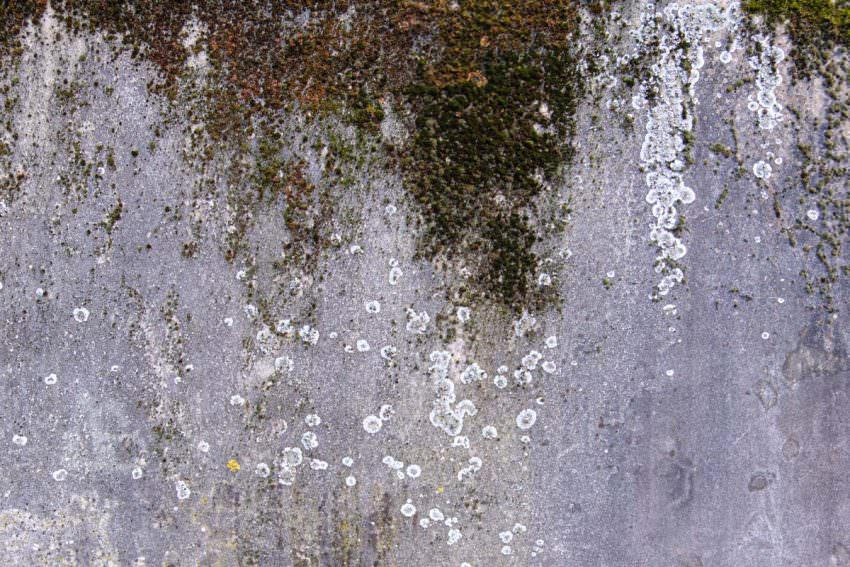
Another way to understand this slider is to look at a Texture image itself. Below image has just that, texture. I actually collect such images so I can use them in composites and layers to produce creative effects in the photos.
In the image I simply drag the Texture slider vs Clarity slider. See the Before Image with Texture only and After Image with Clarity below. Both sliders were cranked up to +100
Conclusion
Texture is much cleaner and less destructive then Clarity. I am enjoying using this slider more and more as I edit my photos. It’s really starting to grow on me.
I will be re-doing my HDR presets with this slider as well so I can have more cleaner and rich results!! Check out this slider yourself and don’t forget to subscribe below and share this post.
Subscribe
Harmeet Gabha
Harmeet Gabha


